Learn Rubik's Cube from top experienced teachers
![]()
How to solve a Rubik’s cube?
05 Oct 2023
.6 min read
.![]() 10,242 Views
10,242 Views
![]()
If you've ever gazed upon a Rubik's Cube and wondered how to unlock its secrets, you're in for a treat. In this blog, we're diving deep into the art of solving the Rubik's Cube, and trust us, it's a puzzle worth solving.
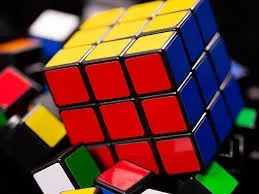
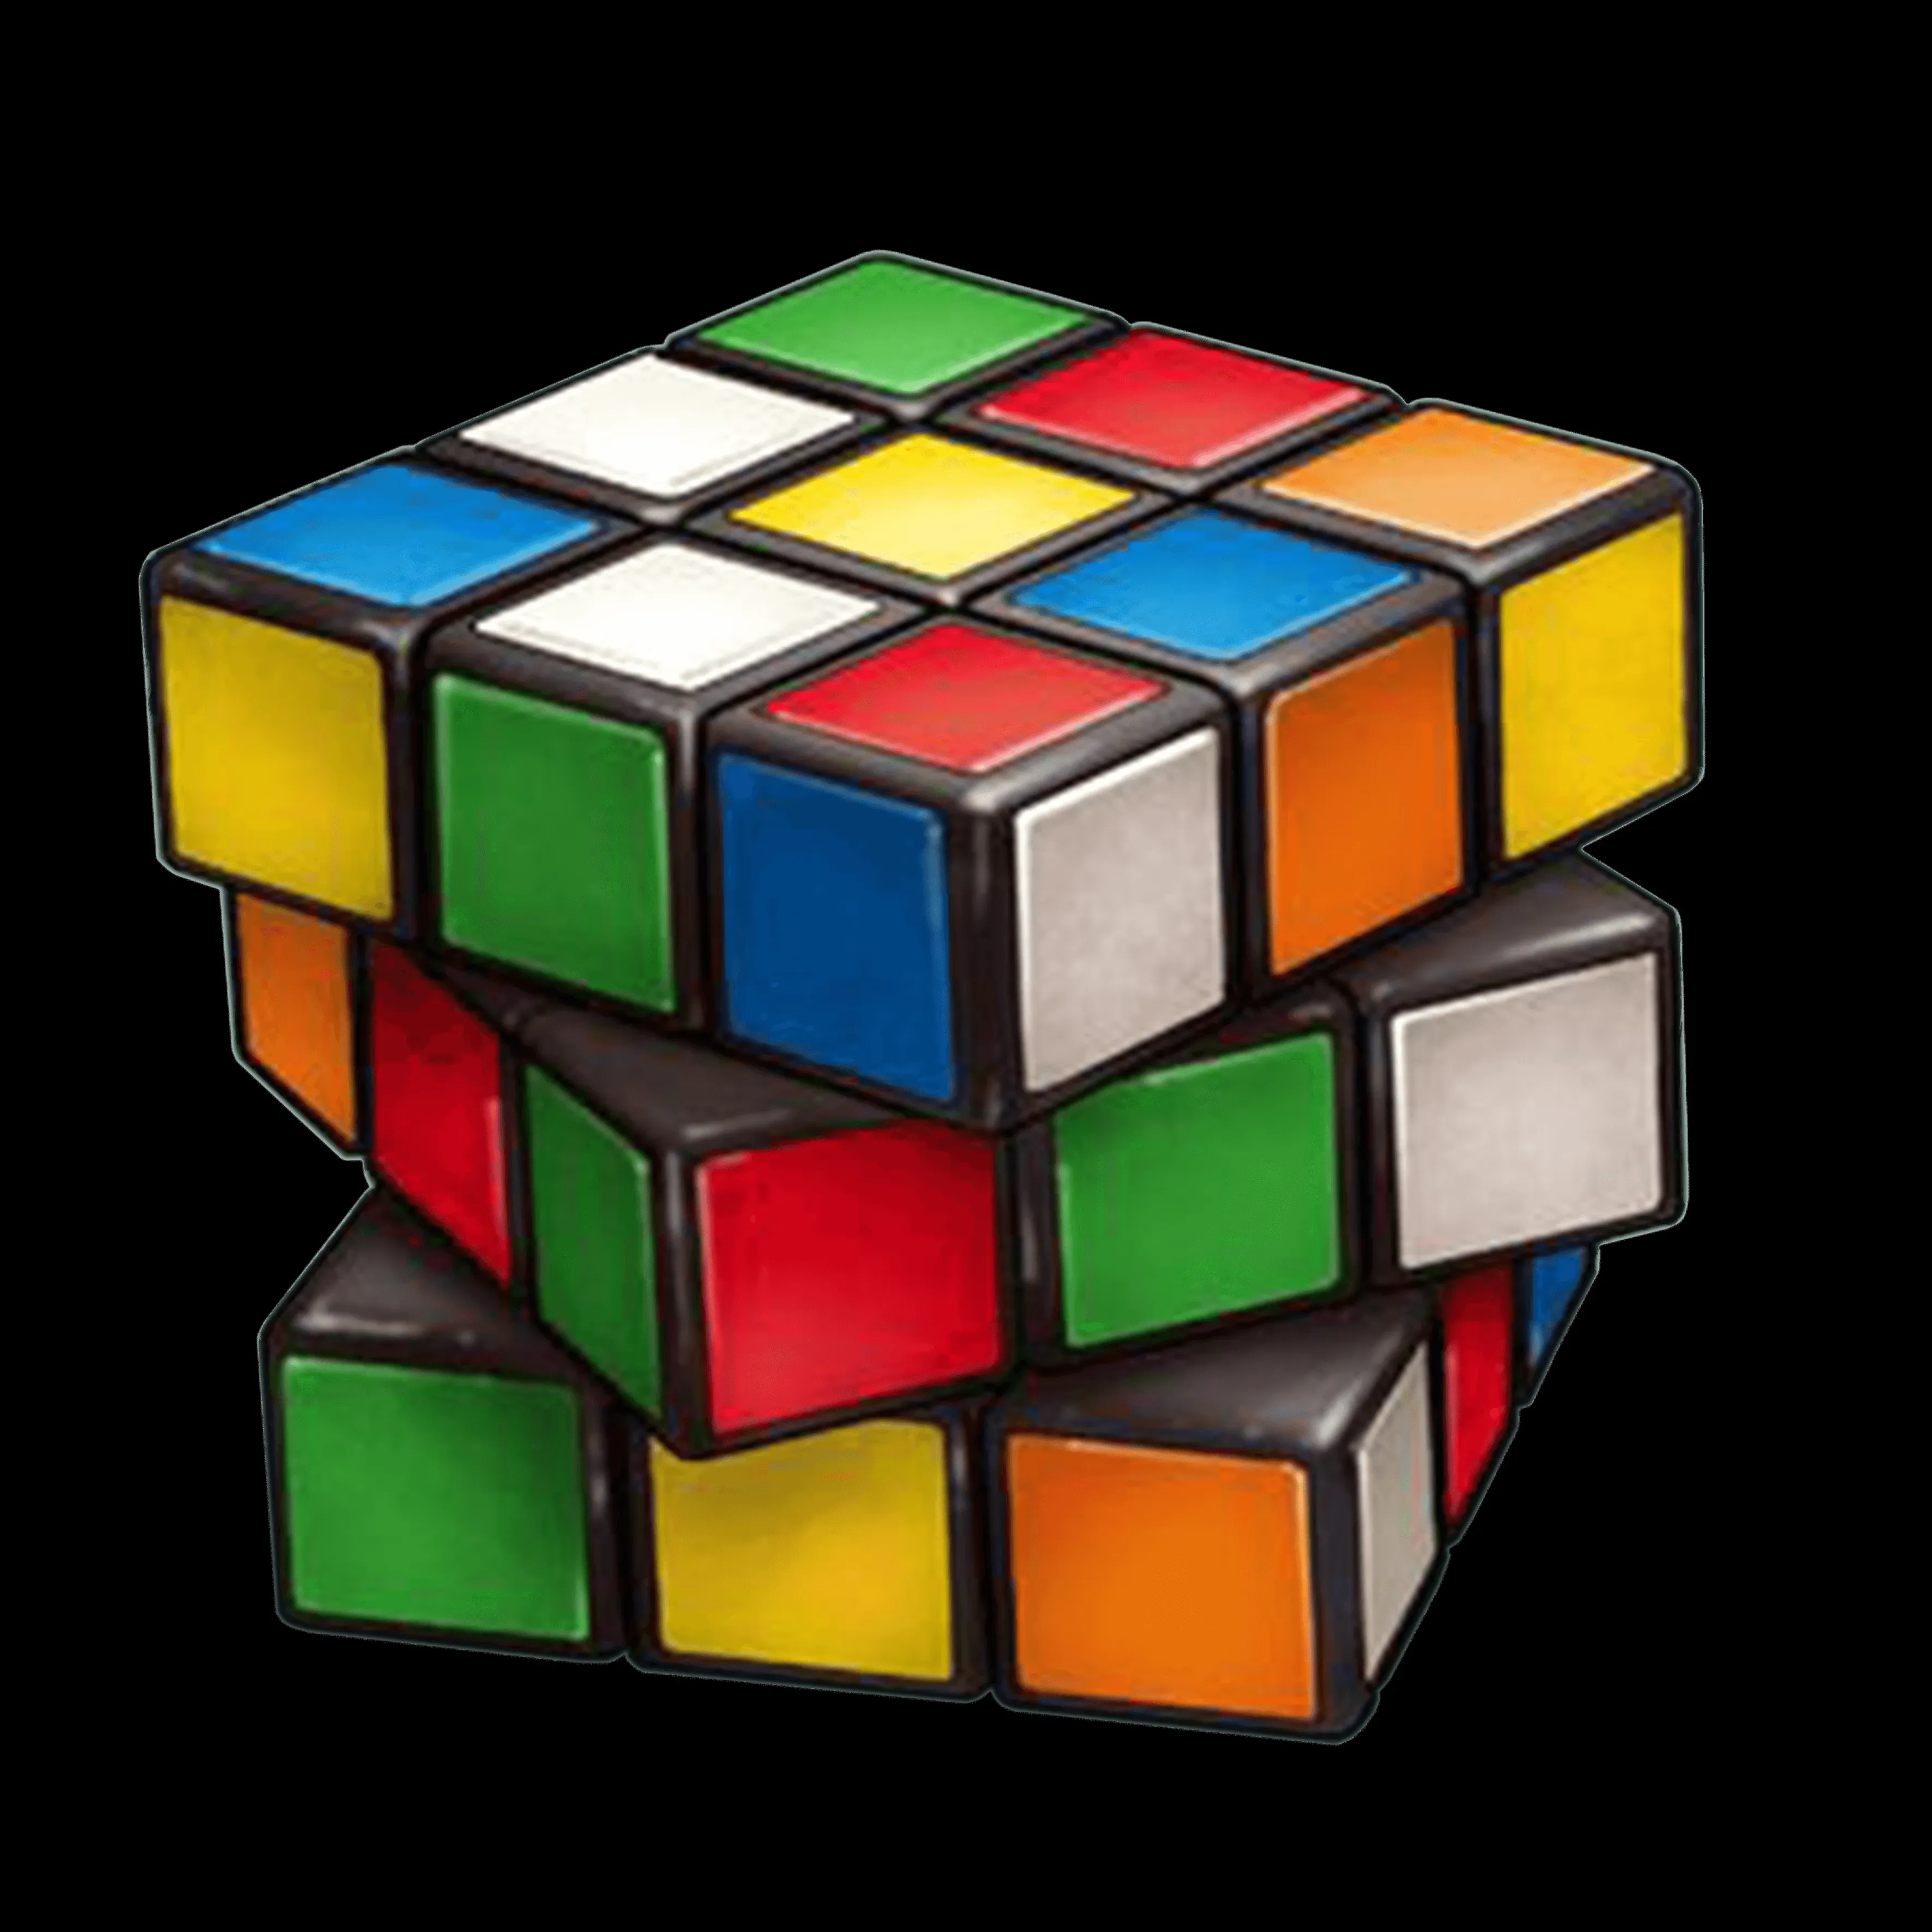
When you hold a Rubik’s cube in your hand, all you can see is a chaotic mosaic of bright-colored boxes. It is an enigma, a brain-wrecking challenge that has stumped many. But you know what? It is not just about aligning the colors, it’s about unlocking your latent problem-solving potential.
But, where to begin from? Well, just sit back and read this blog till the end. Whether you're a complete novice or have already dabbled in cube-solving, this blog is your roadmap to conquering the iconic 3x3 Rubik's Cube.
How to Solve a Rubik’s Cube? A Step-by-Step Guide
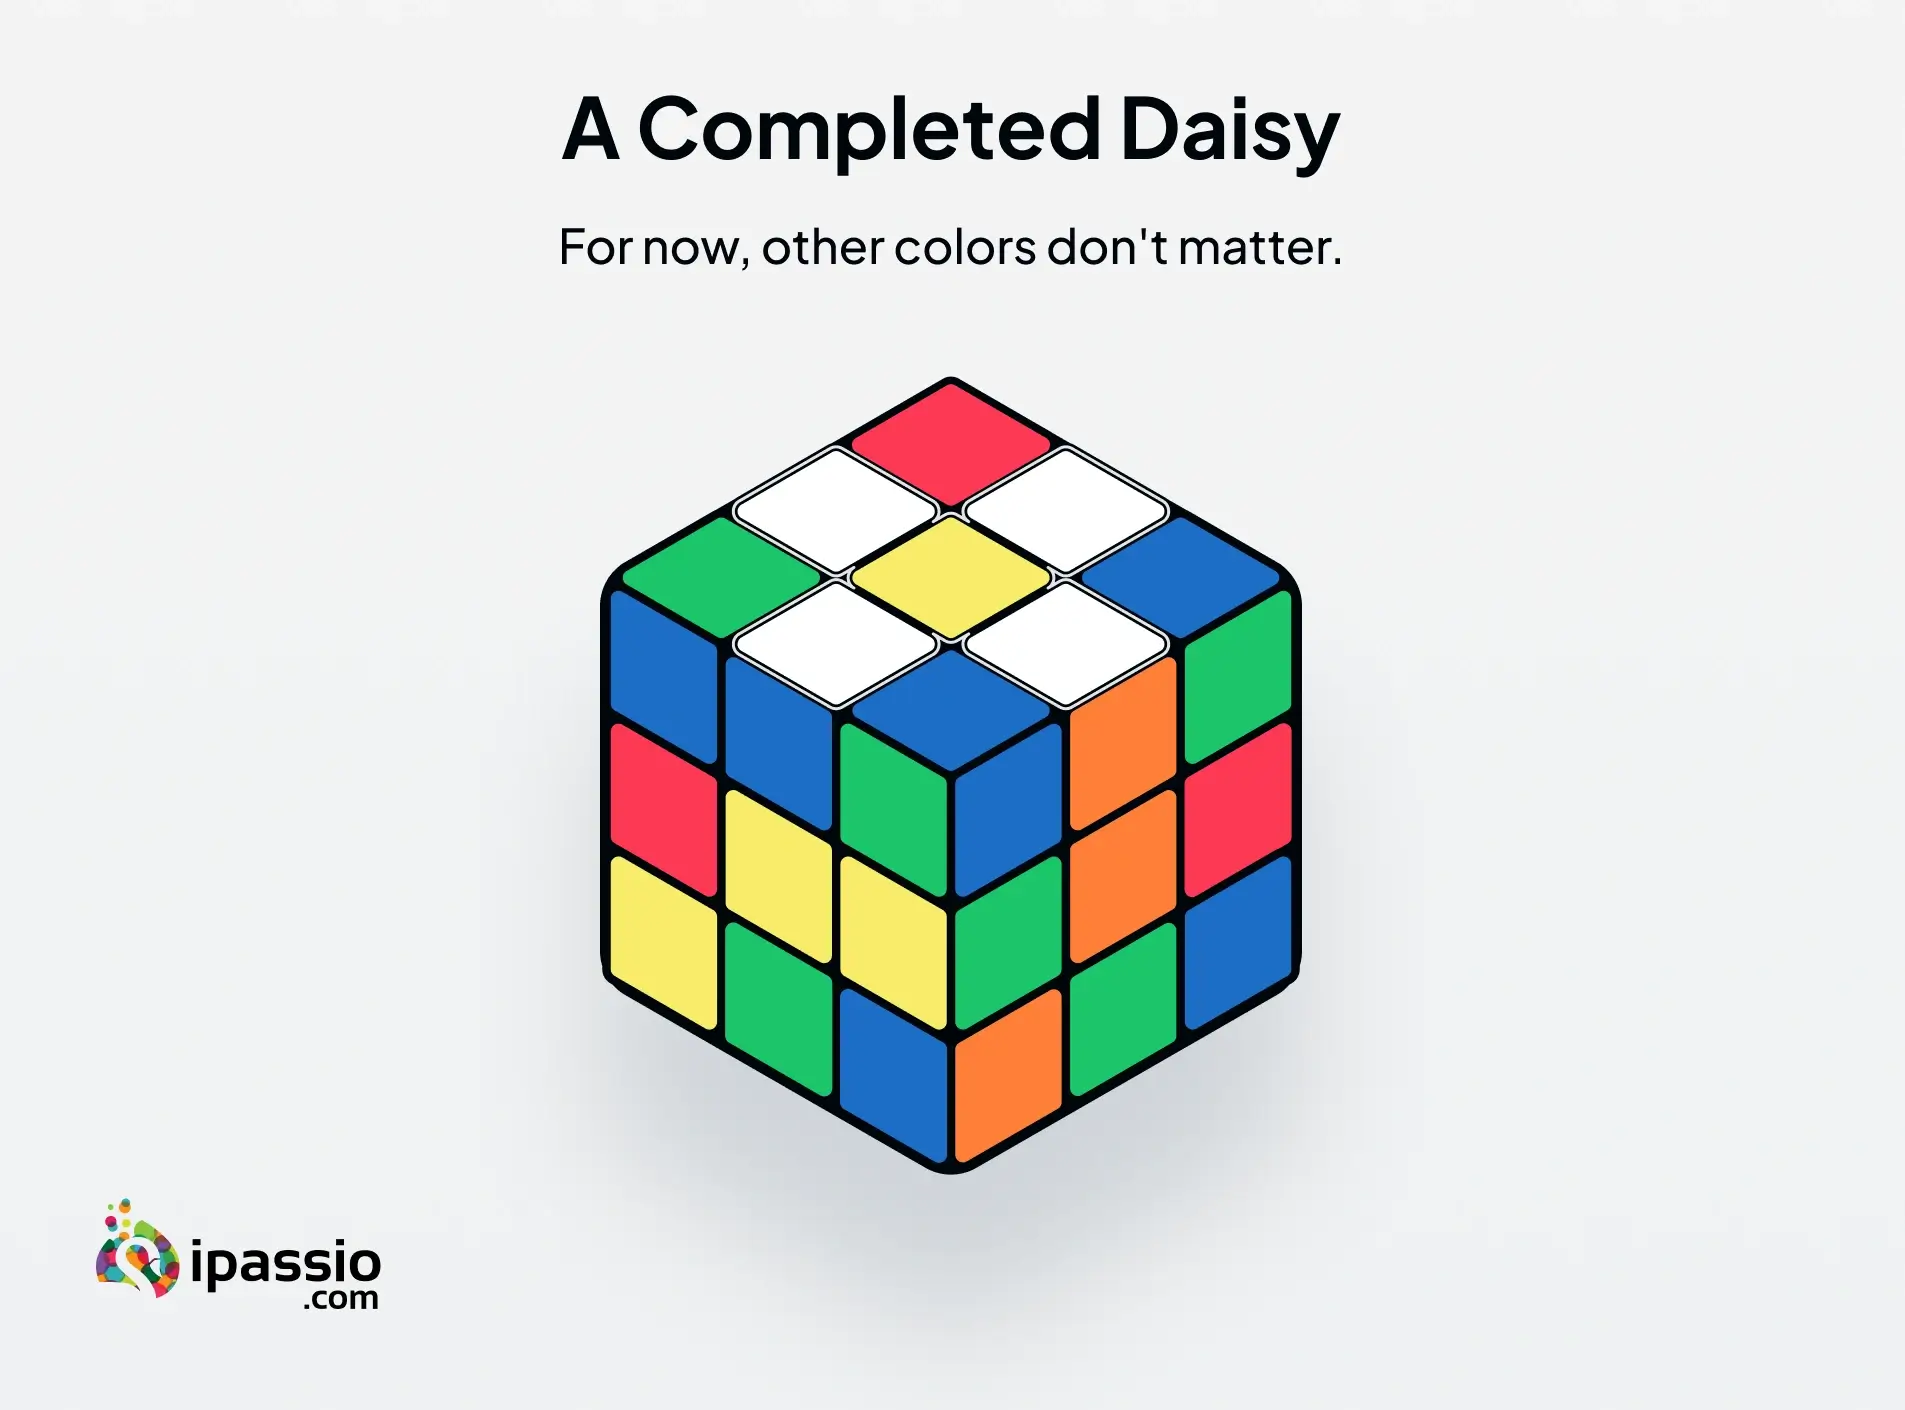
Step 1 - Make a Daisy
The aim is to get four white pieces around the yellow centerpiece.
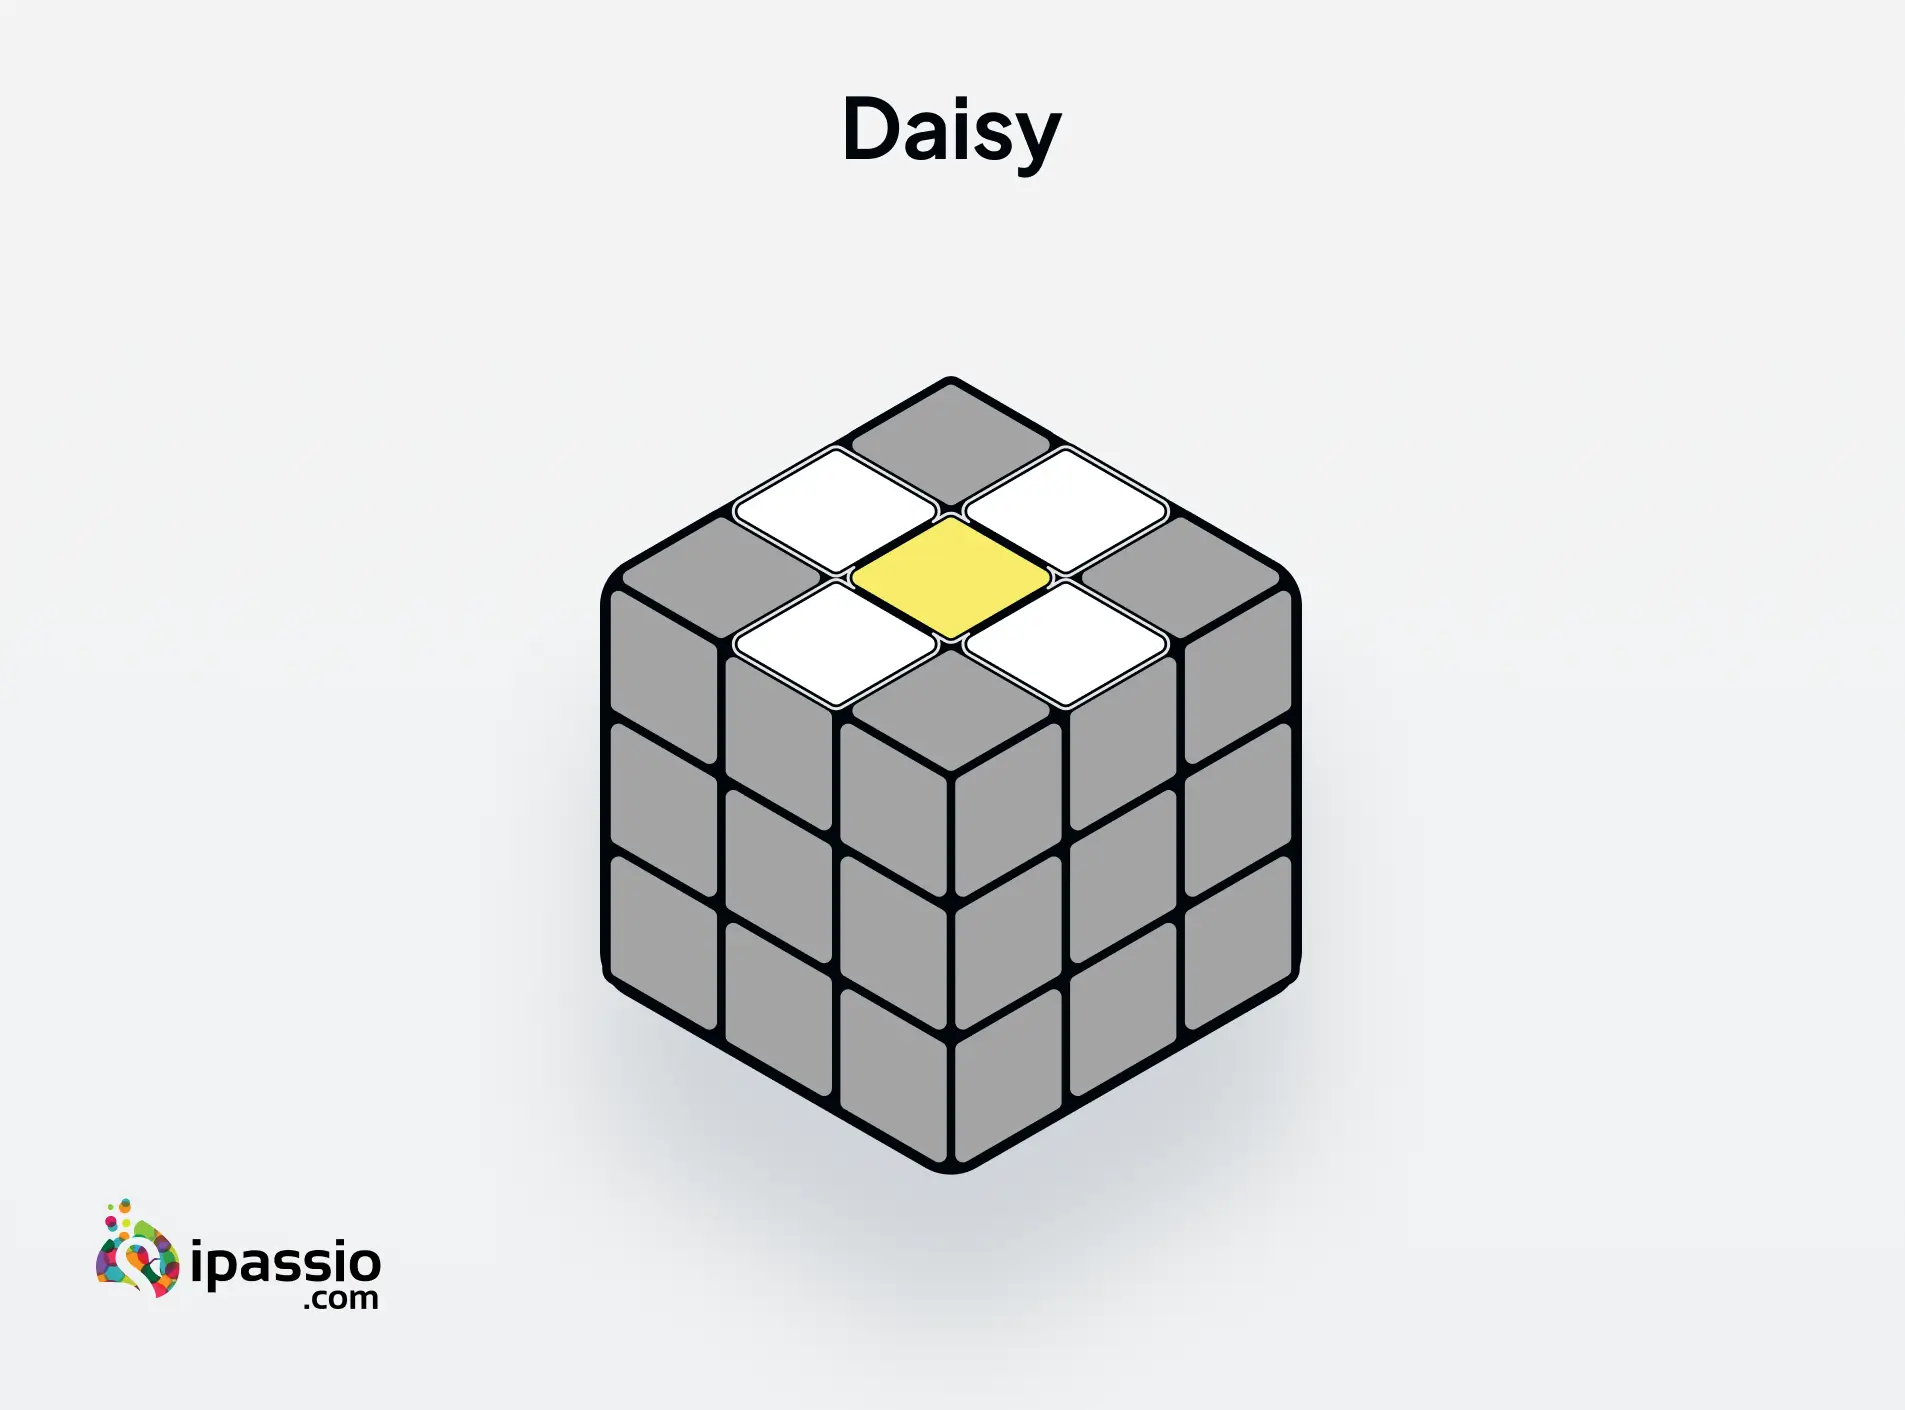 The white and the yellow colors are opposite faces. So if white is the top face, yellow will be at the bottom.
To create the Daisy -
- Put the yellow side on the top.
- The next step is to bring 4 white pieces around it.
- Imagine the white pieces to be the cars and the yellow centerpiece to be the house.
- Now keep turning the faces till you get the white edge on each side of the yellow centre piece.
If you want to learn about the different facets of Rubik’s Cube and its different types, please read - What is Rubik’s Cube? Types of Rubik’s Cube and Its Parts.
Step 2 - Make a White Cross
Once you have created the daisy, the next goal is to make a white cross with two matching colors on each side of the cross.
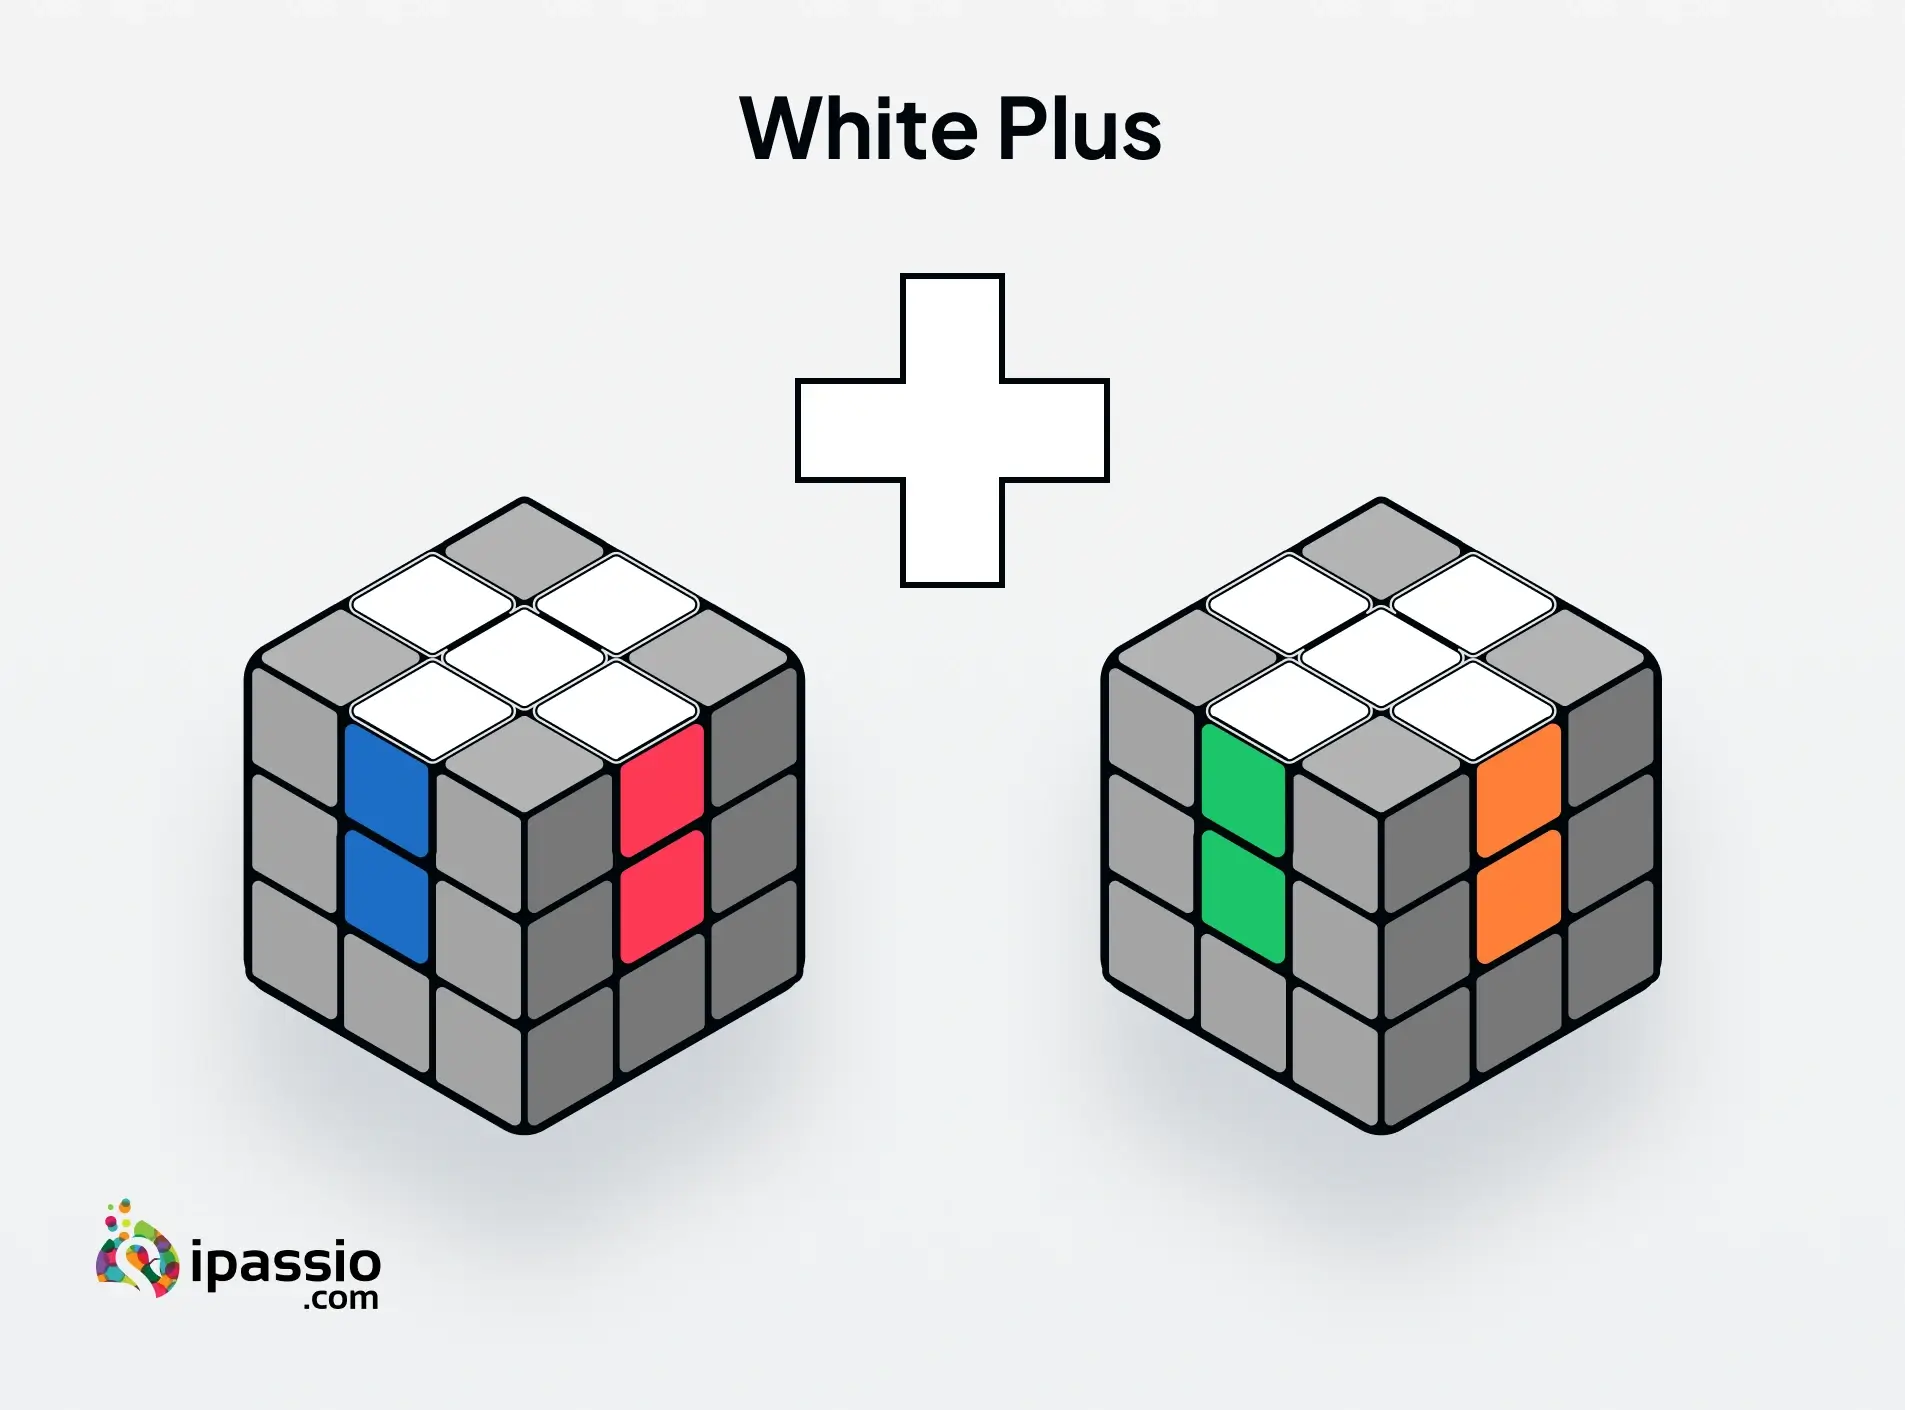
- The daisy should be on the top at this point.
- The top of the cube looks like a daisy flower with four white petals. We have to focus on the color that these petals are touching on all four sides.
- Now you have to bring the same color under it on all four sides.
- Start with the color you have on the front side.
- Hold the top layer with one hand and turn layers 2 and 3 with the other hand until you get the same color under it in the second layer.
- Now flip the green side to make it come down.
- As a result, one of the white pieces will also move down to the white side.
- Do the same for the remaining white pieces.
- Turn the cube over and you have the white cross.
- Note that the four sides of the white cross are touching two matching colors on all four sides.
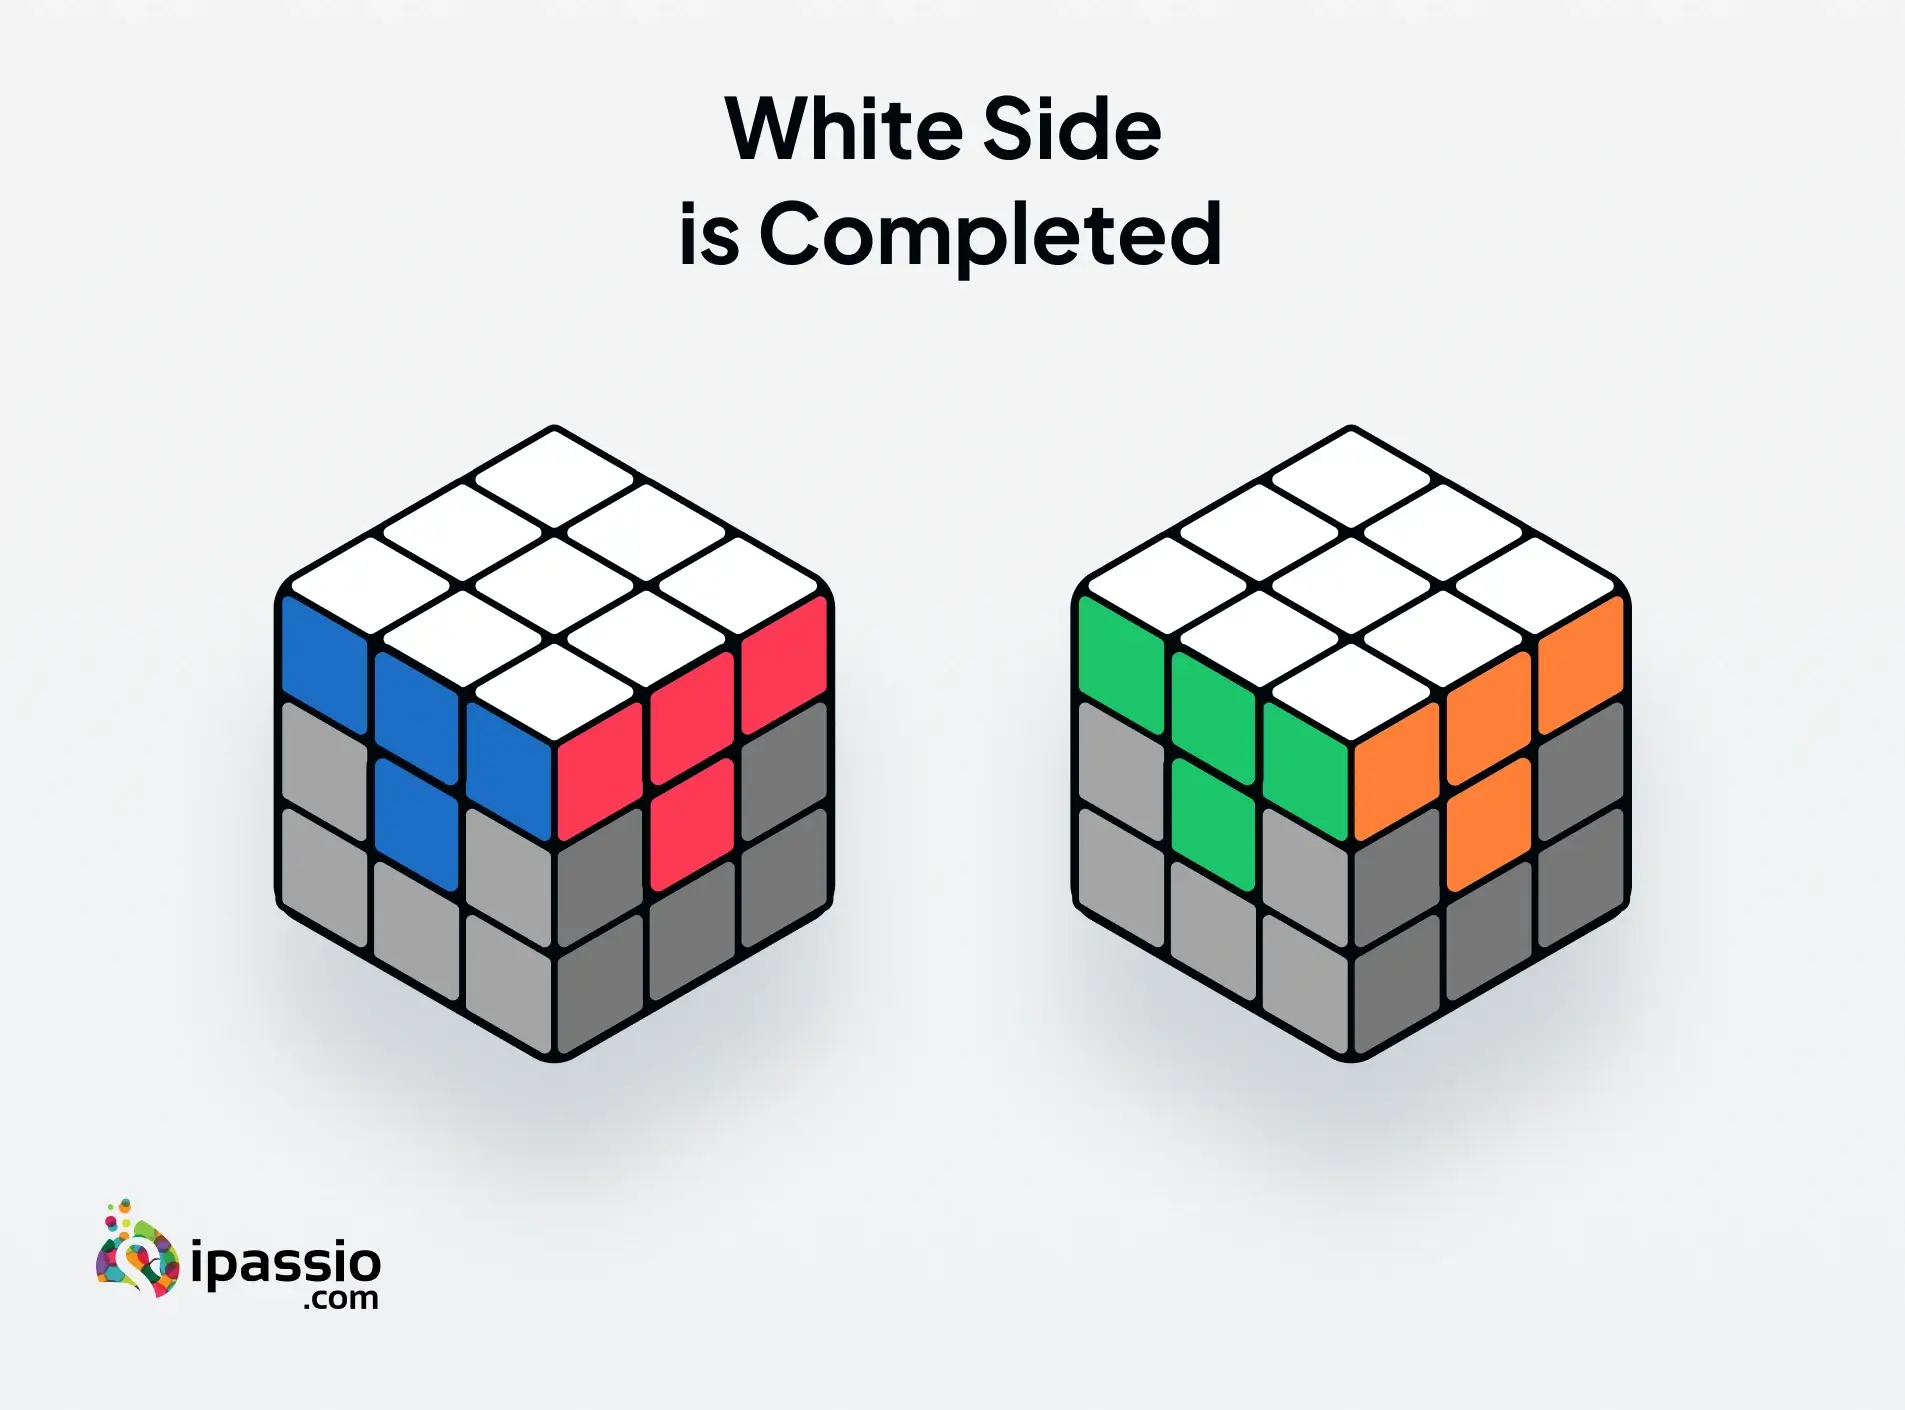
Step 3 - Align the White Corners
After getting the white cross, the next goal is to align the white corners to the white cross.
- Locate the four white corners of the cube.
- To get the corners, first, twist and move one of the white pieces to align with the corner piece and bring both the pieces to the top.
- Repeat in the same manner and bring all the white corners on top.
- Thus you have completed one face of the cube.
- By the end of this step, you should have the first layer of the four faces completely aligned.
Step 4 - Complete the Second Layer
- Now we bring the yellow face in the front.
- Spot the pieces around the yellow center.
- Focus on the top two pieces - one on the first layer of the front face and the other on the third layer of the top face. Mark that the focus pieces should not be yellow.
- Turn the face clockwise and anticlockwise till you find the correct arrangement of colors. Make sure that the yellow side is facing you.
- Turn the back layers to make the T without disturbing the yellow side.
- Next, spot the color on the front side that is touching the edge of the T
- Find its side.
- If its side is on the left, then ’Left’ is your keyword.
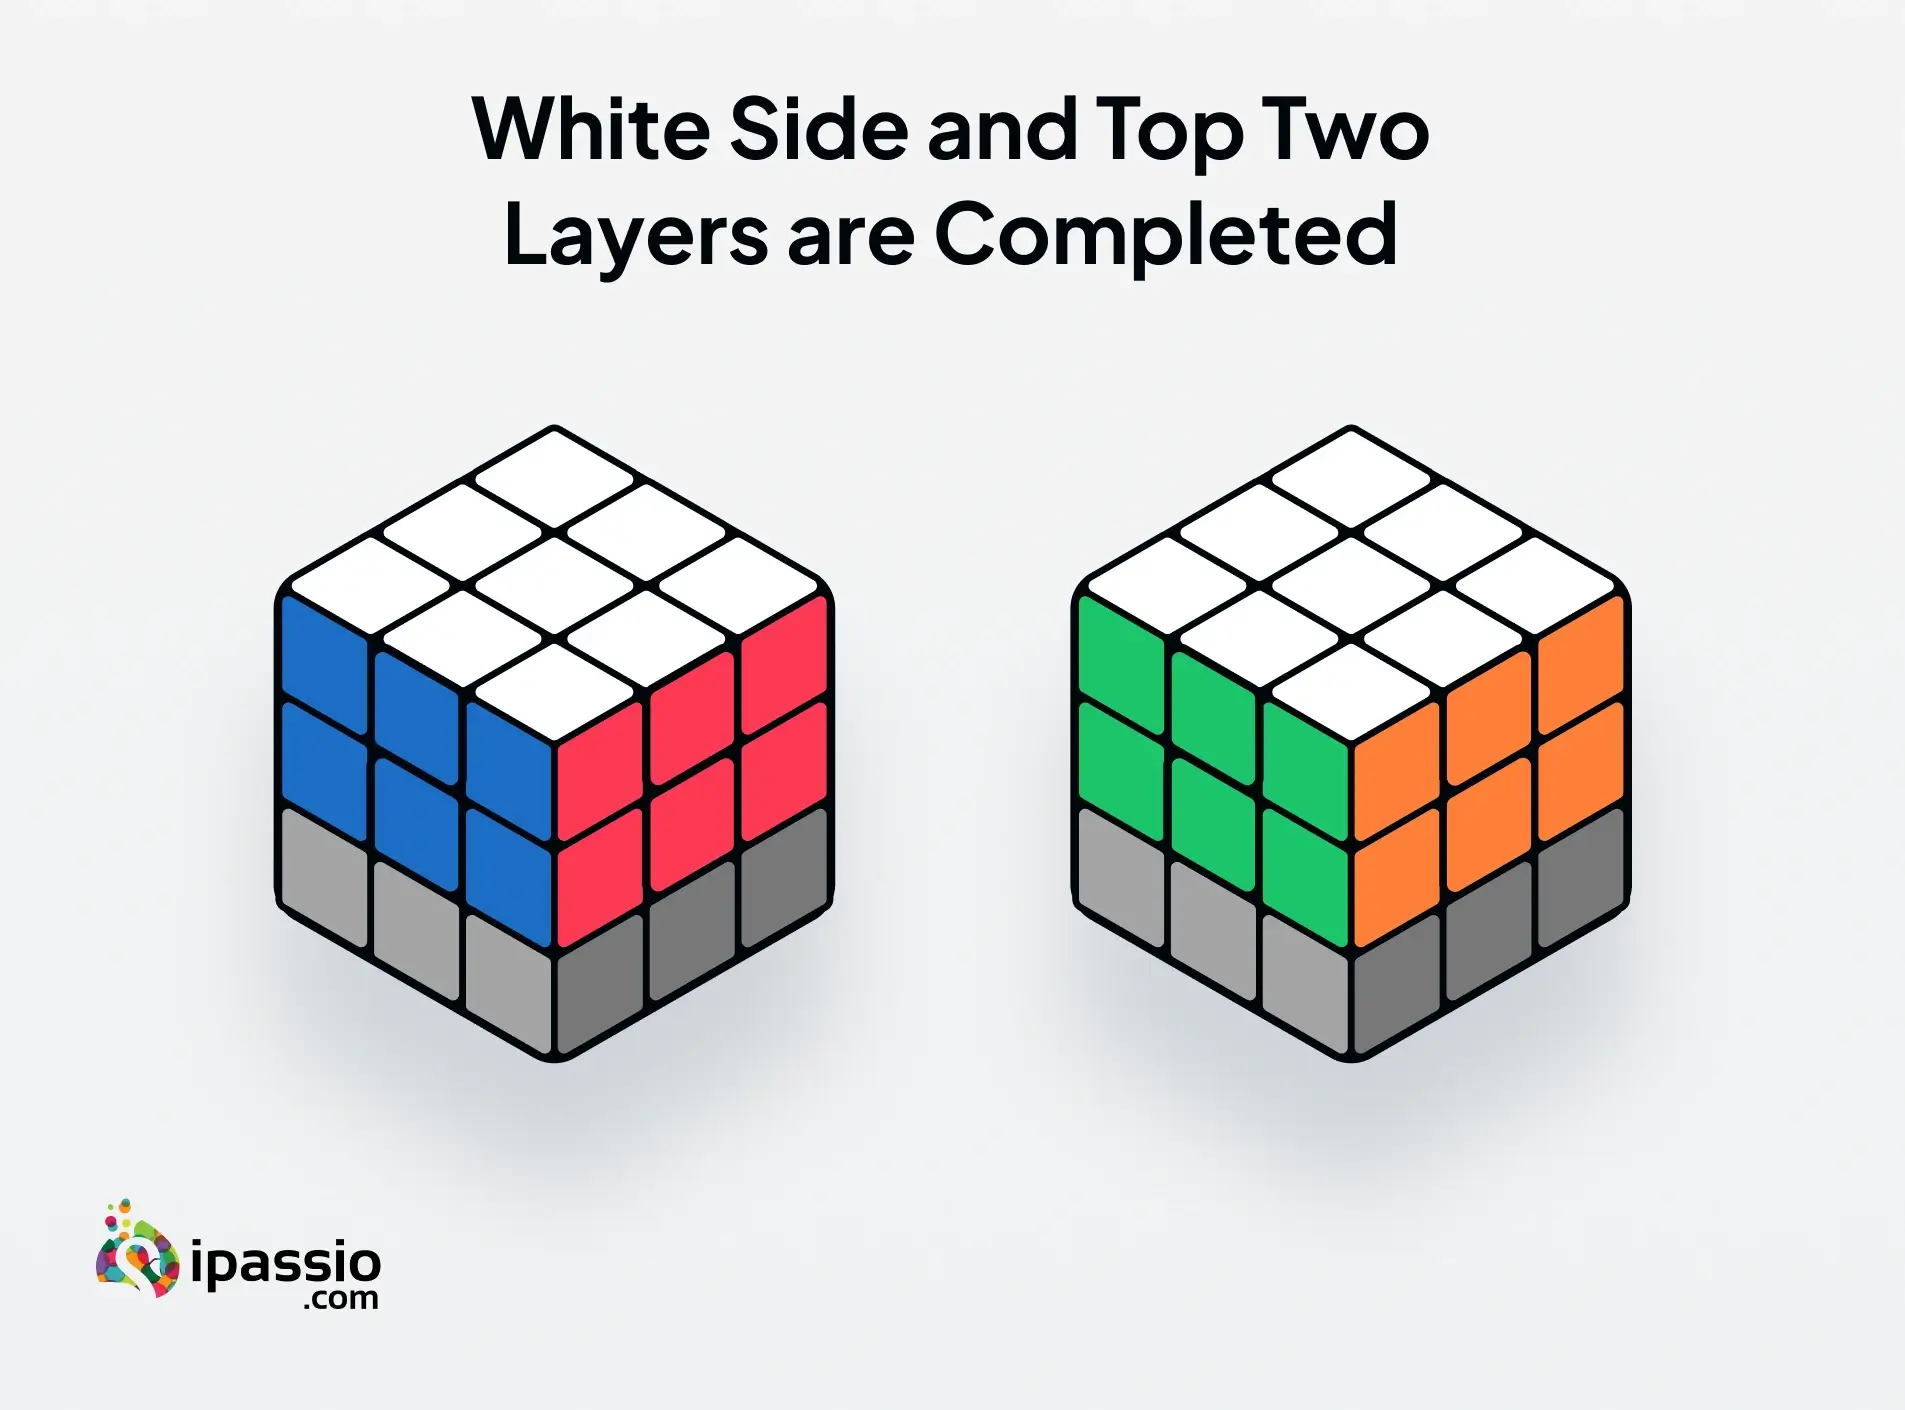
- After the keyword, the next movements will follow a formula that is called ABCDEF.
- A refers to Away from the Keyword (in this case left). At this point, the face turns away from the left.
- B refers to the Bottom (turn the Bottom Layer to the left). The bottom layer turns to the left.
- C stands for Column. So the left Column comes down.
- D stands for Delicious Sandwich. Here, the second layer of the cube turns left.
- E means that Everything Goes Up. That means that the left column that was brought down earlier goes up again.
- F refers to Fix Your Whites. Return the white on one side.
- After you fix the white side, flip it over to the yellow side and repeat the same process.
- Keep the yellow side facing towards you.
- Spot the focus pieces that are not yellow.
- Make a T.
- Figure out the keyword and continue with ABCDEF
- Continue this process until you have the top two layers and the white face completely done.
- After this, you have to fix the third layer and the yellow face.
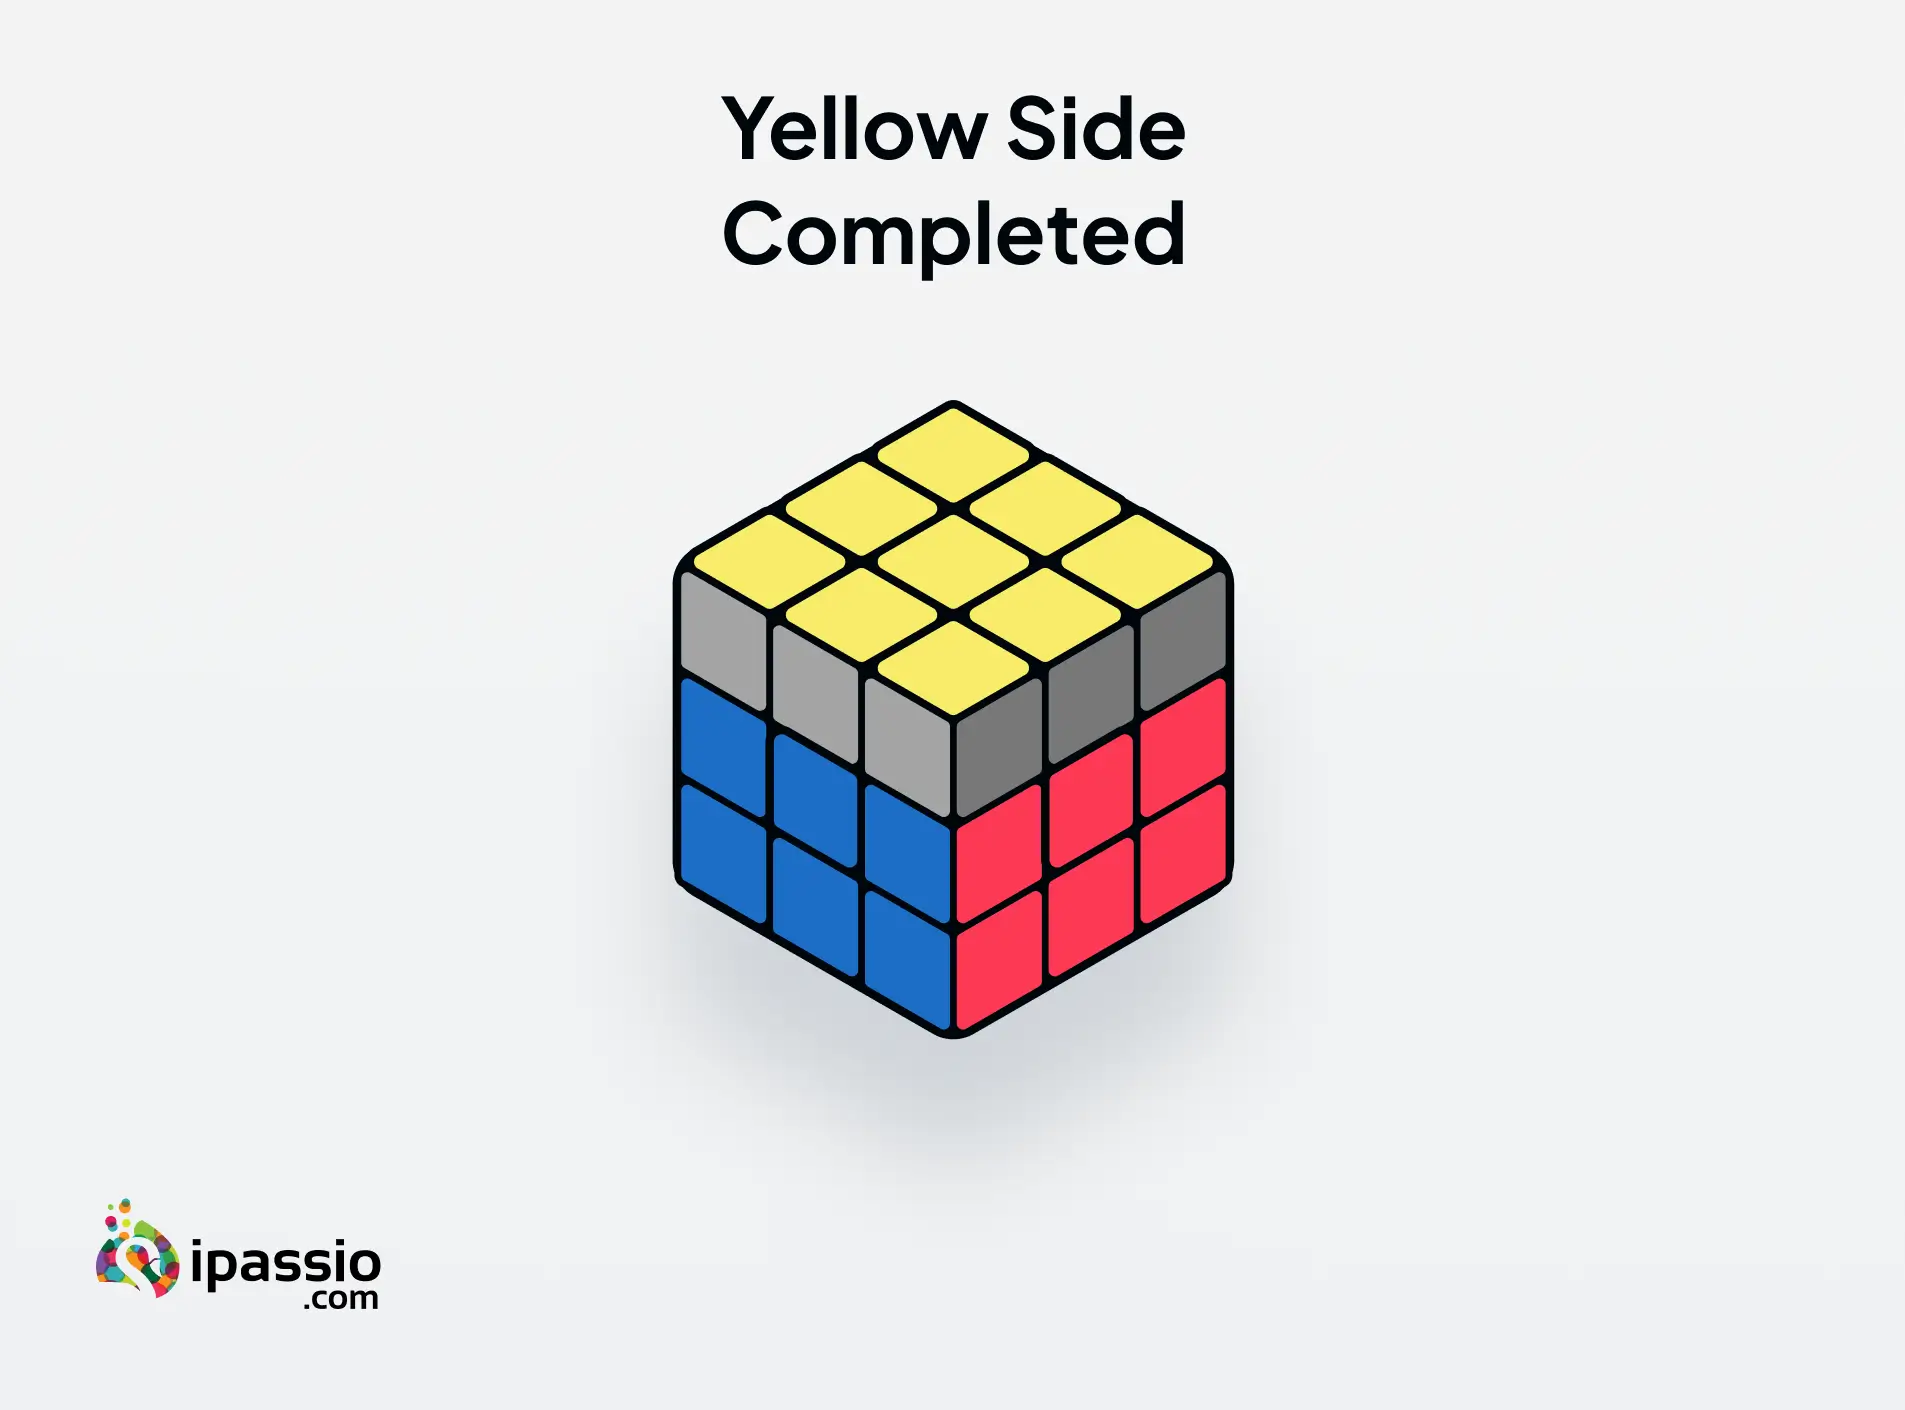
Step 5 - Get the Yellow Cross
To get the yellow cross the formula used for this is F.U.R and U.R. F
These define the movement of the layers and columns of the cube clockwise and counterclockwise.
F.U.R that is Front - Up (Top) - Right moves clockwise
And U.R.F - Up (top) - Right - Front moves anticlockwise.
- First, turn the cube so that you have the yellow side on the top.
- Mark the pattern on the yellow side and follow the rules to carry out the FUR-URF accordingly.
- Keep repeating this till you get the yellow cross.
Step 6 - Complete the Yellow Face
The formula for this is - clock - clock - counter. And in the next step - clock, clock, flip, counter.
The top layer with the yellow face and the right column is moved alternatively - clockwise twice and anticlockwise once.
To tackle the corner-solving process, it's crucial to commit these nine moves to memory. Before moving on, ensure you can recite them flawlessly, even in a dark room while playfully jumping on your bed.
- Counter, Clockwise, Counter, Flip, Clockwise
- Counter, Counter, Flip, Flip
This will follow the movement of Right-Front-Right-Back.
- Keep your left thumb fixed and use your right hand to move the layers and column
- Turn the right column counterclockwise
- Turn the front face clockwise
- Turn the right column counterclockwise
- Flip the back side counterclockwise
- Turn the right column clockwise
- Flip the front face counterclockwise
- Turn the right column counterclockwise
- Flip the back side counterclockwise
- Flip the right side counterclockwise
Continue this process till the entire yellow face is completed.
Step 7 - Completion
After completing the yellow face, the remaining task is to match the third layer.
The next pattern is Flip-Clock-Clock-Clock. Then 5 times Counter - Clock for Once - Counter again.
So it goes like this-
- Flip - right side down
- Clock - top side
- Clock - right side
- Clock - top side
- Counter - right side
- Counter - top side
- Counter - right side
- Counter - top side
- Counter - right side
- Clock - top side
- Counter right side
Continue this process till all the sides match.
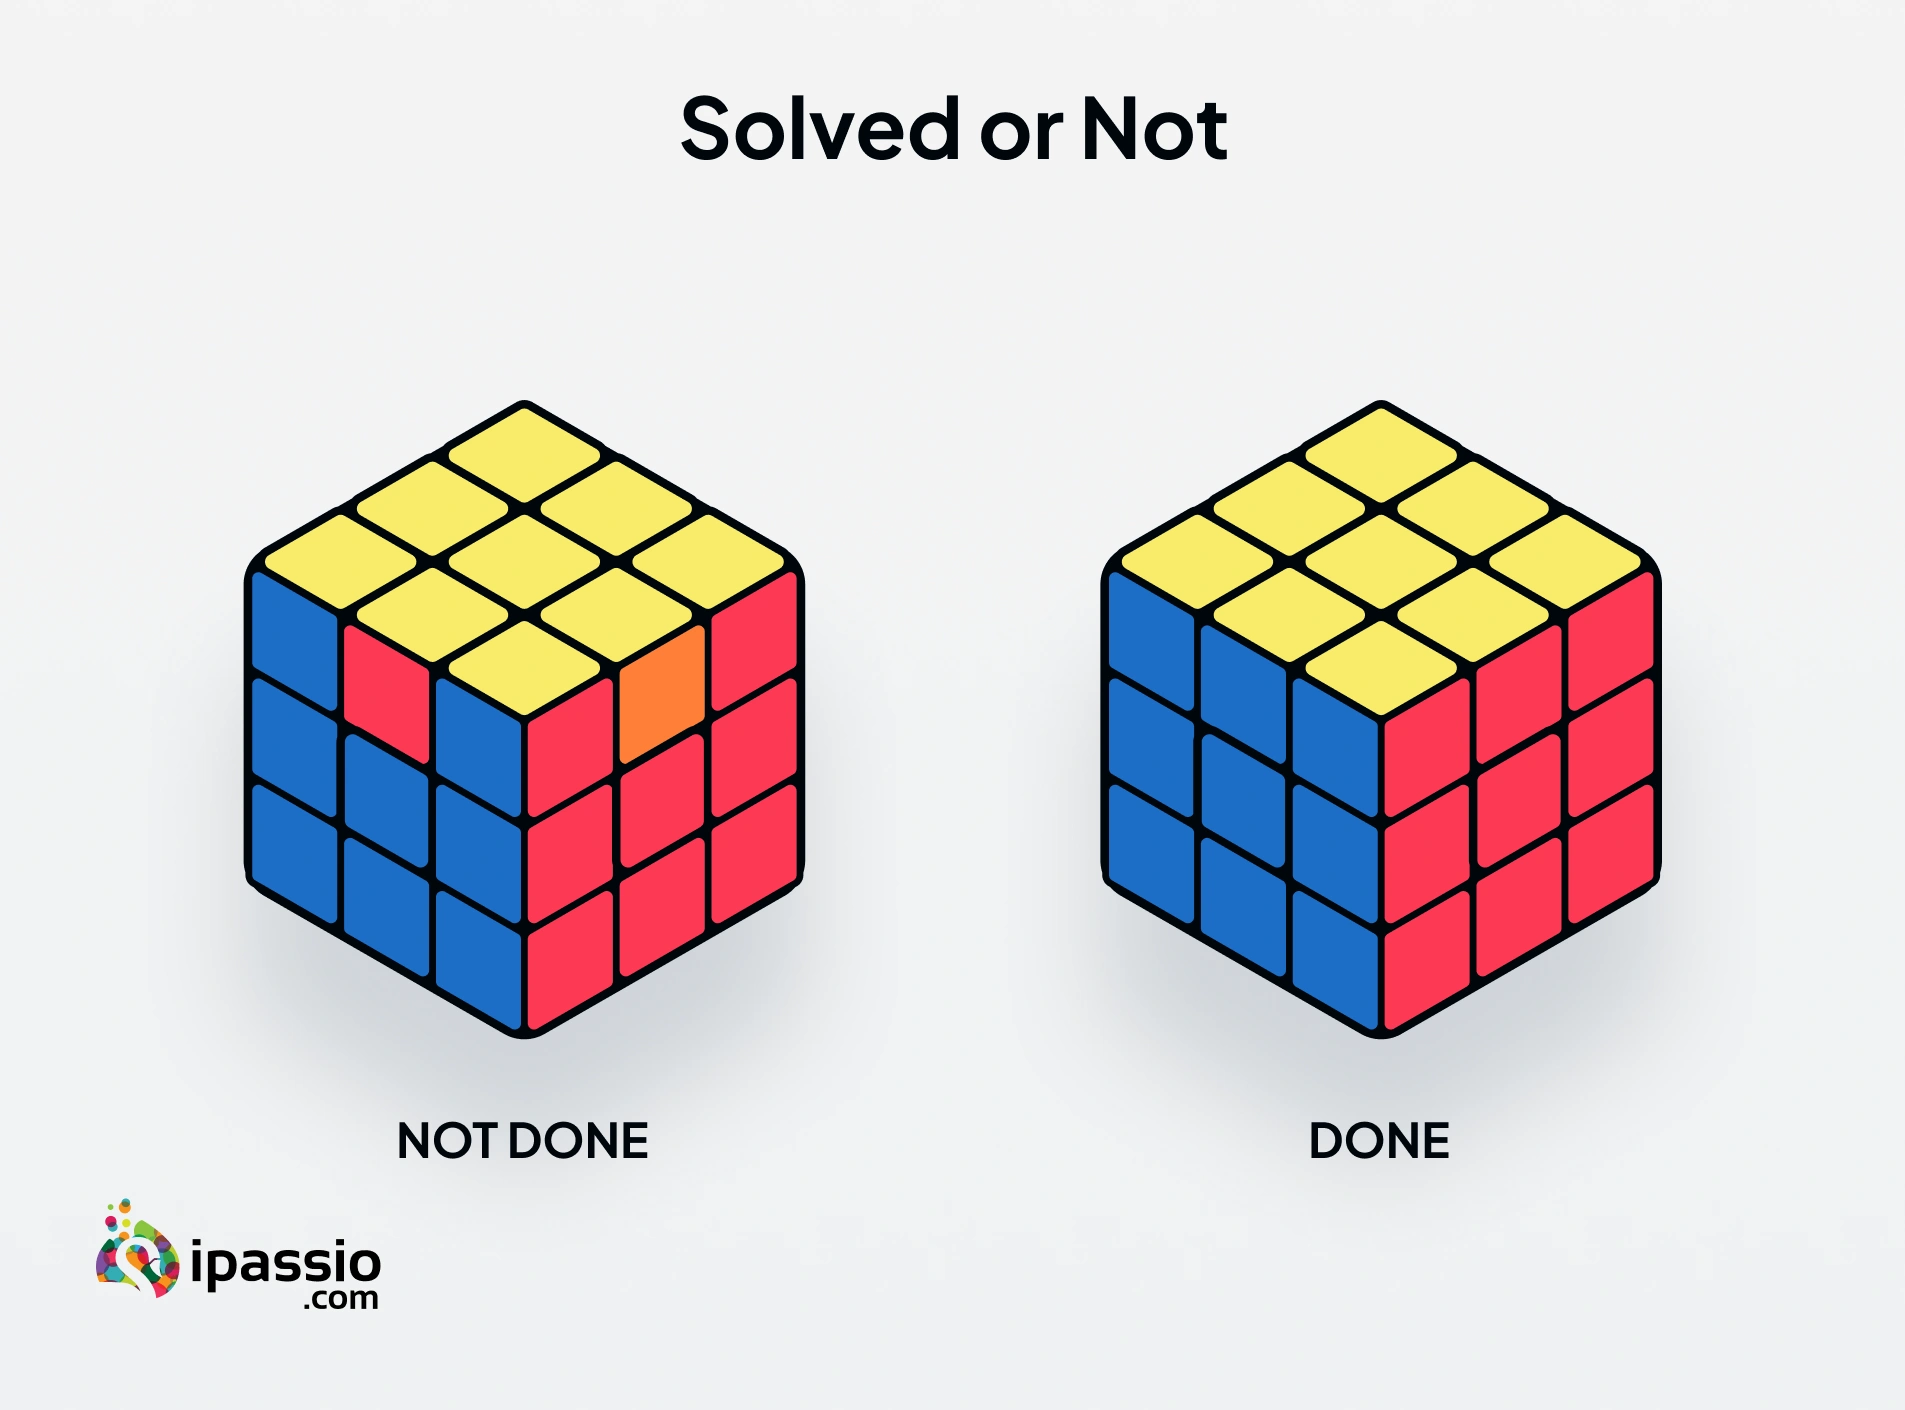
There are 2 possible outcomes of this process. And at this stage, it's easy to say whether you are having the last laugh or heaving a sigh and starting all over again.
And Finally…
The colorful enigma that once seemed unsurmountable is well within your reach now! With a little practice, patience, and perseverance, you will soon be impressing everyone with your cube-solving ability.
But, bear in mind - that solving Rubik’s Cube is not just about conquering colored stickers on the plastic cubes. It is more about developing the tenacity to stay put and solve problems.
So don’t get discouraged by the initial setbacks. Keep twisting and keep exploring possibilities.
Try to understand the algorithms and memorize them. They will lead you to success.
Join a cuber’s group. Also, encourage your friends, family, and acquaintances to solve the cube.
Keep taking up new challenges and keep pushing your limits!
If you want to learn to solve Rubik’s Cubes online under the guidance of expert cubers and teachers, take a look at Rubik’s Cube Classes Online.