


How to Do Low Key Photography (Examples, Settings & Ideas)
Want to add some drama and mystery to your images? Low key photography is an exciting technique that's easier than it sounds. Here's how to do it well.
Learn | Lighting Guides | By Ana Mireles
Shotkit may earn a commission on affiliate links. Learn more.
If you want to learn how to do low-key photography, you’re in the right place.
I love this lighting technique. It’s a great way to highlight a subject.
It’s also perfect to add drama or mystery to your images. And a low-key portrait is simply breathtaking.
I’ll tell you everything you need to know to make a low-key photo in this article.
I’ll also include some low-key images for inspiration, and answer some FAQs about low-key photography at the end.
Let’s dive right in.
What is Low Key Photography?
Low key is a photography lighting technique that comes from different painting styles and it was well received in photography.
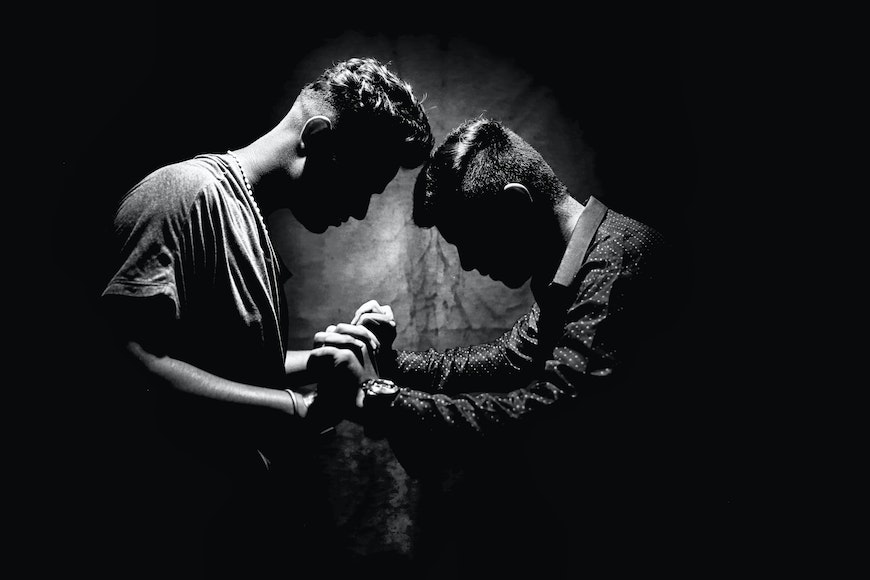
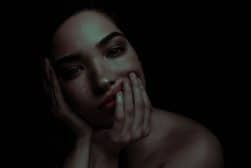
To put it in simple words, a low-key photograph is where dark tones dominate the image. There’s a well-exposed subject (or part of it) that stands out from a dark background creating high contrast.
This characteristic makes it a perfect style to draw attention to a subject. It’s also used to create dramatic scenes. Low key is the opposite of high key lighting.
On high-key images, you use more light so that everything looks bright and airy. A high-key image has minimal contrast.
In its most basic setup, you can do a low-key photo with a single light. However, it’s possible to create more complex setups if there isn’t enough light where the shadows fall.
In this case, you can add a fill light on the dark side. You need to keep an 8:1 light ratio approximately to keep the overall image dark.
`
How Do You Do Low Key Photography?
When shooting low-key images, it’s useful to use a dark background and dark props. For example, if you’re doing a low-key portrait, have your model dressed in black.
Next, you need to set the exposure to the brightest area, if you’re shooting in the studio, this would be the key light. The camera needs to be in manual, otherwise, it will make an average of the overall lighting and compensate by overexposing.
If you prefer to use the camera in a semi-automatic mode, you can use the exposure compensation feature to make the background darker.
These are just some overall considerations that low-key photography requires, but they can be applied to different settings and conditions.
Here’s a practical example for you to get started with low-key lighting photography.
Use a black background and style your subject in black or dark clothing or props. Then, find the correct camera settings so that you get a completely black photograph when you shoot without the flash.
Once you have that reading, you need to adjust the intensity of the flash so that the correct exposure matches your settings.
When you shoot low-key photography, it’s best if you use directional light. This way, the light falls only where you want it without brightening up the surrounding areas.
Remember that low-key photographs have very dark shadows. So, you can use light modifiers to control the light spill, this can be a honeycomb grid, a snoot, flags, etc.
How Much Do You REALLY Know About Photography?! 🤔
Test your photography knowledge with this quick quiz!
See how much you really know about photography...

What setting should I use for low-key photography?
Shooting low-key photography is not difficult, but you should get control over the exposure. This is why is best to use your camera in manual mode.
Make sure you have a low ISO. This is because higher ISO values create digital noise which is particularly noticeable in the dark areas. Since low-key photos have mainly shadows and dark mid-tones, the noise would be too distracting.
Next, set the aperture so that you have your subject perfectly sharp. Generally speaking, you don’t want to use selective focus for low-key photography.
This is because you’re already highlighting a specific part of the subject using light instead of focus. So, an f/8 or f/11 is a good place to start.
Finally, adjust the shutter speed to sync with your flash. In most cases, this speed is 1/250 but you might need high-speed synch if the ambient light is too much and your flash is not too powerful.
Remember that this is just a starting point. The ideal settings depend on the specific conditions that you work with.
It’s not the same thing to work in a dark environment as having to deal with ambient light. It’s also different if you use artificial lighting or natural light if it’s one light source or more, etc.
Is it possible to do low-key photography in daylight?
Yes, it’s possible to shoot low-key images in daylight. It is a little bit trickier, though.
You need to find the camera settings that don’t register anything in the scene. This means using a low ISO, a narrow aperture, and a fast shutter speed.
Next, you need to use a flash to light your subject. Often, the shutter speed you need to do this is higher than 1/250. This means that you need to use high-speed sync (HSS) to use a flash. Keep in mind that not all flashes support HSS.
Another possibility is to use natural light. However, you need to find a way to have different light intensities. For this to work, you need a very high contrast.
Then, measure the exposure on the subject so that the rest is underexposed. Also, remember that if you don’t manage to get it perfect on camera, you can always fine-tune it in post-production.
5 Low Key Photography Lighting Techniques to Try
There’s more to low-key photographs than just low light. You can do a low-kew photo in many ways. Despite its simple definition, it’s a very versatile style.
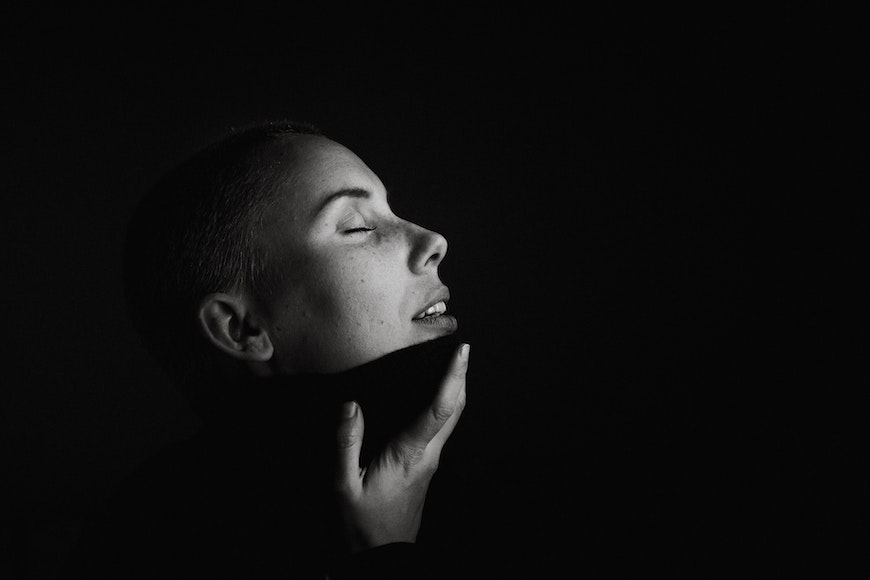
Split light portraits
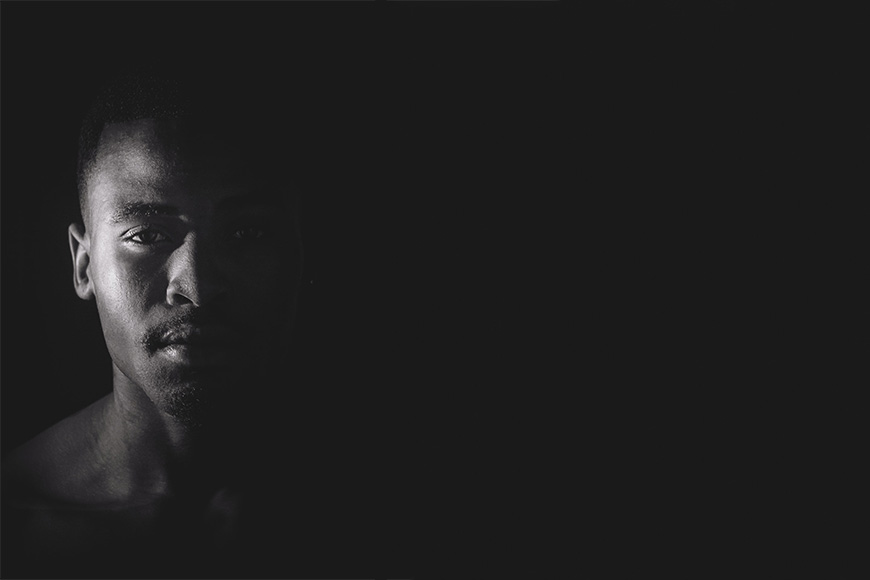
Credit: Edson Habacuc Rafael
Split lighting is a common side lighting technique to achieve a low-key portrait. It’s also one of the simplest lighting setups as it only needs a single flash.
Place the flash to the right or the left of your model, it doesn’t matter which side of the subject’s face you light. The important thing is that it’s perpendicular so that the light doesn’t spill to the other side.
This way, you’ll have one side completely dark and effectively splitting the face in two.
Rembrandt lighting
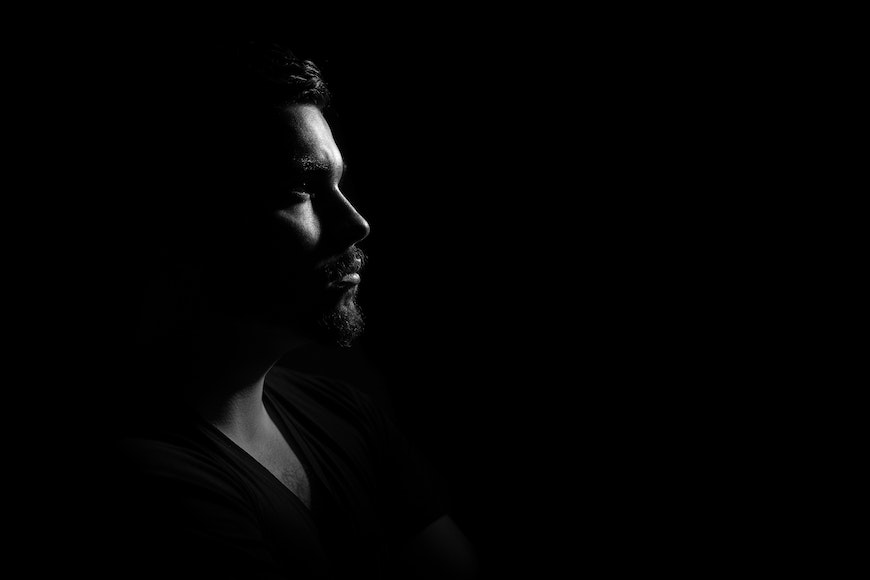
Credit: Pixabay
Rembrandt lighting is another type of side lighting very suited for low-key portrait photography.
This type of light comes from a long line of low-key portraiture traditions. In fact, it’s named after the Dutch Golden Age painter Rembrandt.
The main characteristic of this lighting setup is a bright triangle under the eye on the side opposite the light source.
To do this technique, you need to place the light at 45 degrees from the subject. It’s useful to use continuous light or a flash with modeling light. This way, you’ll see how the light falls in your model’s face and it will be easier to find the right position.
It’s important to mention that not all photographs with Rembrandt lighting are low-key shots.
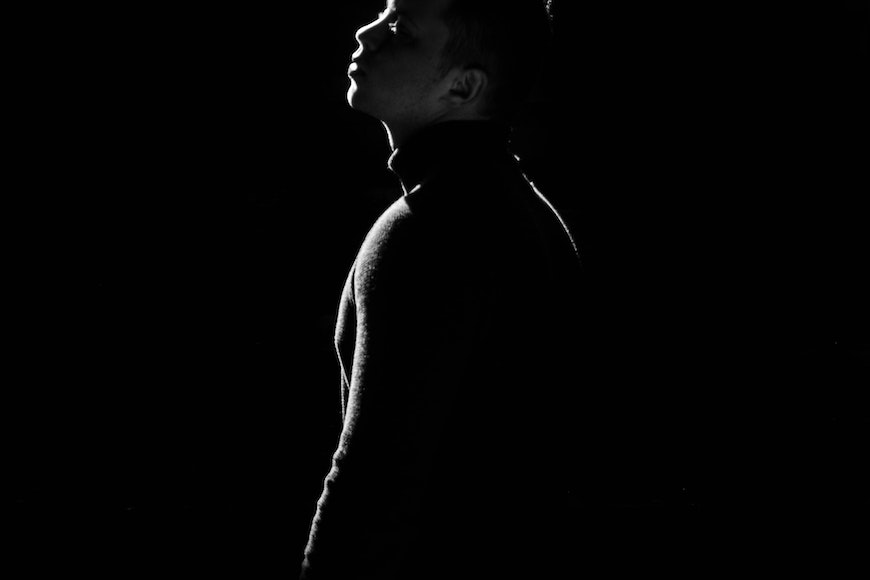
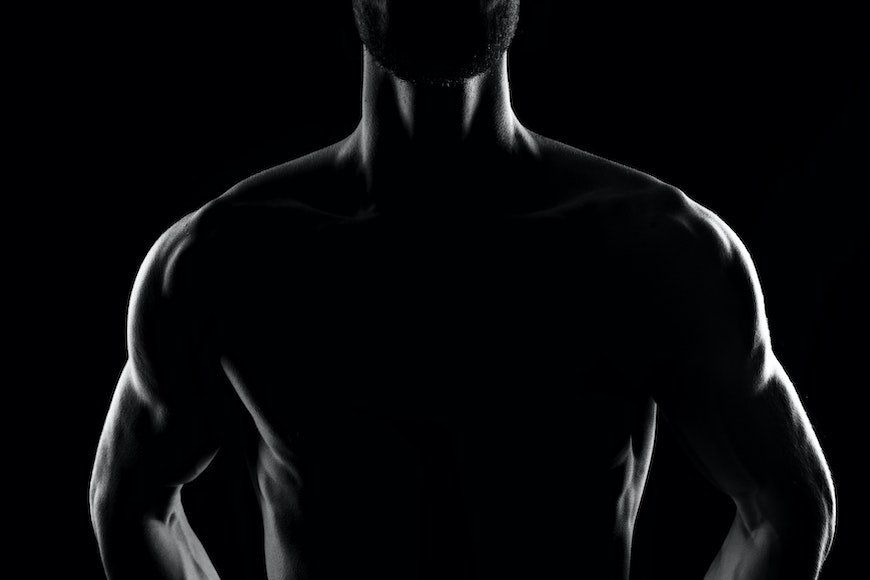
Rim light portraits
This low-key lighting setup works well for all sorts of low-key photographs. However, it’s mostly used in low-key portraits.
Place two strip boxes – one on each side of the subject. Use a grid on the strip boxes to direct the hard light. Next, place a beauty dish on top. This will add a rim light to the head and shoulders of the model.
Your lights must be behind the subject so that they don’t illuminate the front of the subject. You can move the lights back and forward to find the ideal size of the rim.
Use cucolories
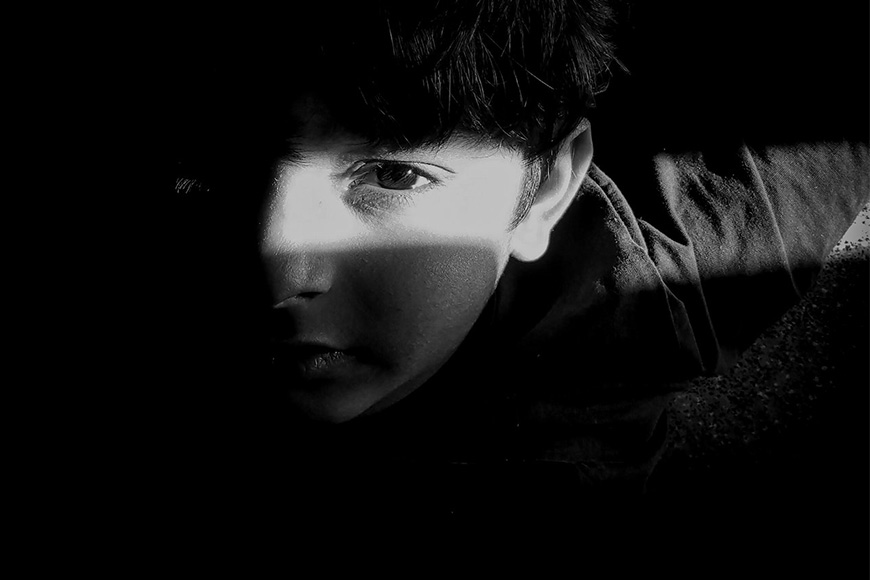
Credit: Harshan Photography
Cucolories are light modifiers. You’ll often find them with different names such as cookies, cucalorus, kookalories, and other variations. Whatever the name, they are plates made out of cardboard or plywood with shaped cut-outs.
The light passes through the cut-outs forming light patterns or shapes. To do low-key images, you can use cucolories to block most of the light and only let part of it through.
You can use a rectangle to let a strip of light fall onto your subject or the shape of a keyhole to light a person’s eye. You can get as creative as you want using interesting shapes.
It’s important to remember that the distance between the light source and the subject will change the results. If you want a well-defined shadow with hard edges, the cookie should be close to the subject and far from the light source.
See also chiaroscuro lighting.
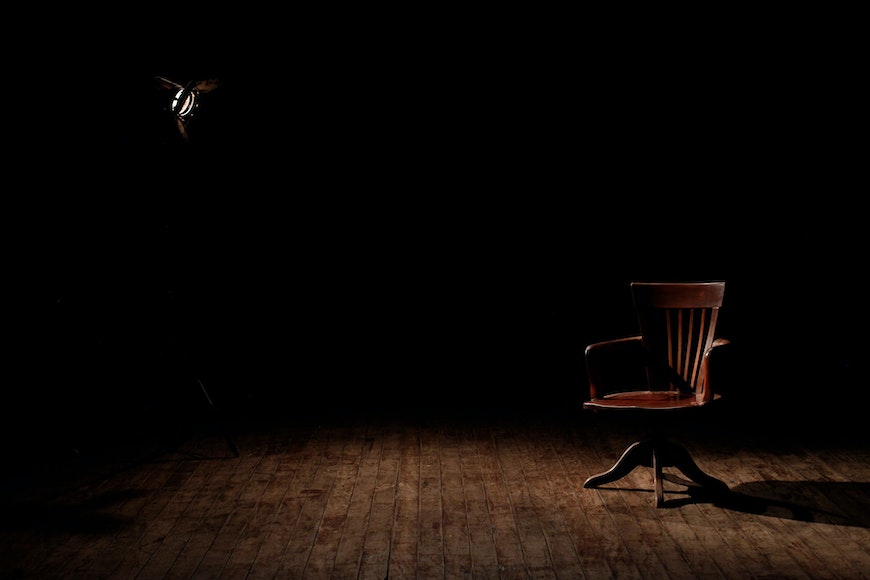
Use alternative light sources

Credit: Bianca Marolla
You don’t need flashes or photography lighting equipment to do a low-key photograph. You can use everyday objects to light your subject.
You can do a low-key portrait of someone looking at their smartphone in a dark room. This way, the screen is the only light source lighting the person’s face.
You can also use fairy lights, a small table lamp, etc. There are no rules in this regard – that’s the beauty of a low-key shot.
18 Examples of Low Key Lighting (Including Low Key Photography Poses)
Here you’ll find some low-key images for your inspiration. I’ll start with low-key portrait examples, especially because you can see some poses that work well with this lighting.
Then, I’ll include some examples of the low-key lighting technique applied to other types of subjects. Enjoy!
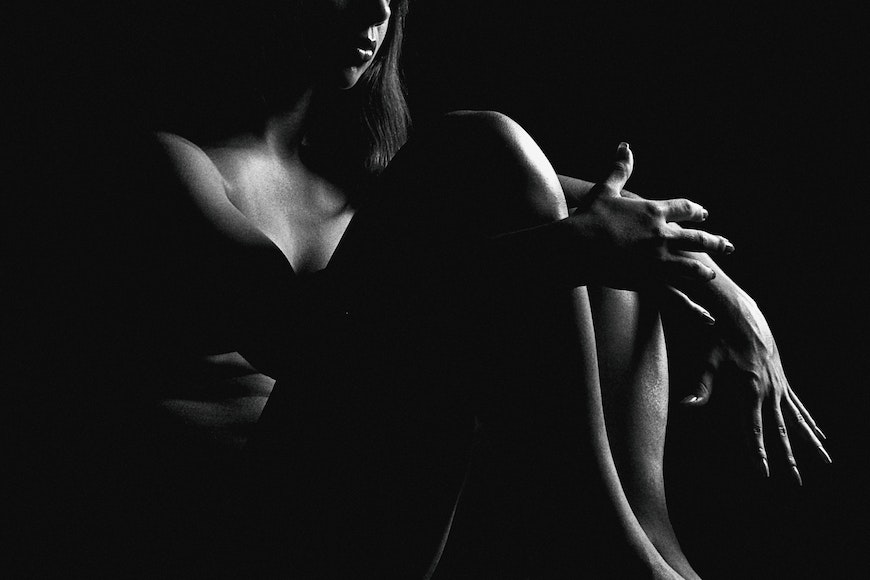
Low-key portrait poses ideas

Credit: Sebastiaan Stam
Credit: Tuca Bianca
Credit: Prince Photos
Credit: Viktoria
Credit: Alexander Krivitskiy
Credit: Janko Ferlic
Low-key street photography
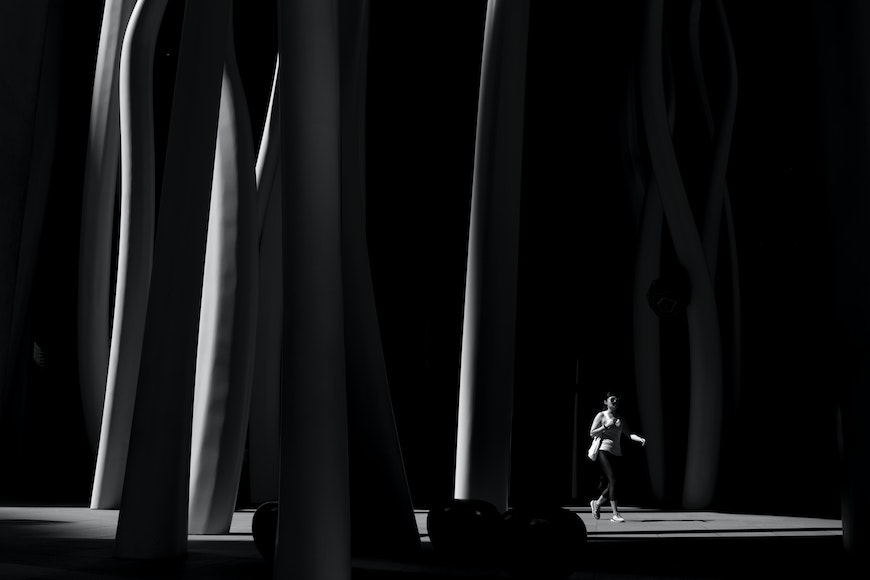
Credit: Thet Tun Aung

Credit: Artun Odabasyan
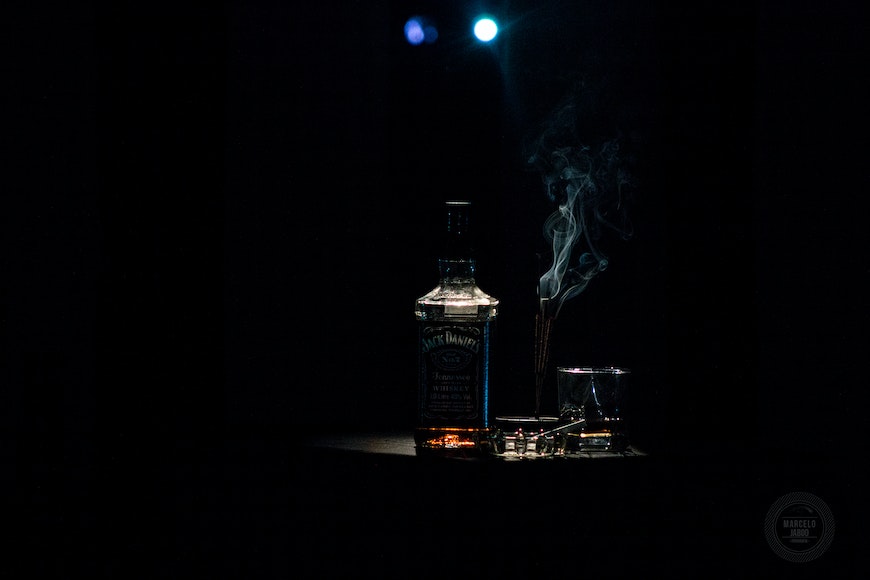
Low-key photography – still life
Credit: Marcelo Jaboo
Credit: Tyler Lastovich
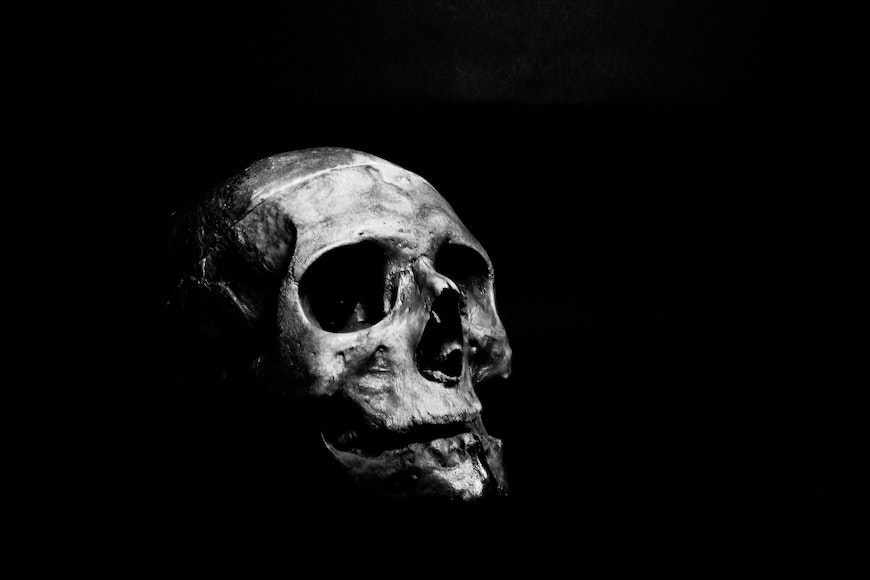
Credit: Ahmed Adly
Credit: Marcelo Jaboo
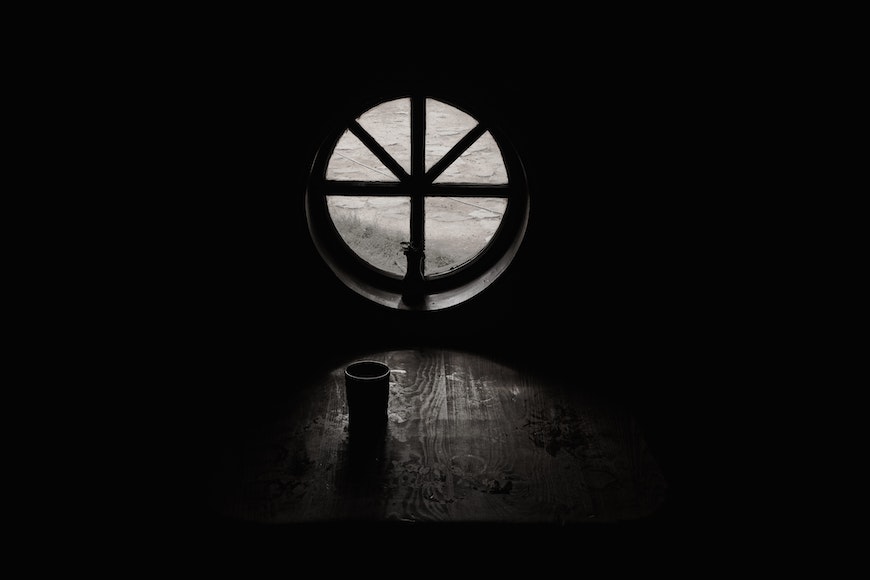
Low-key photography – architecture
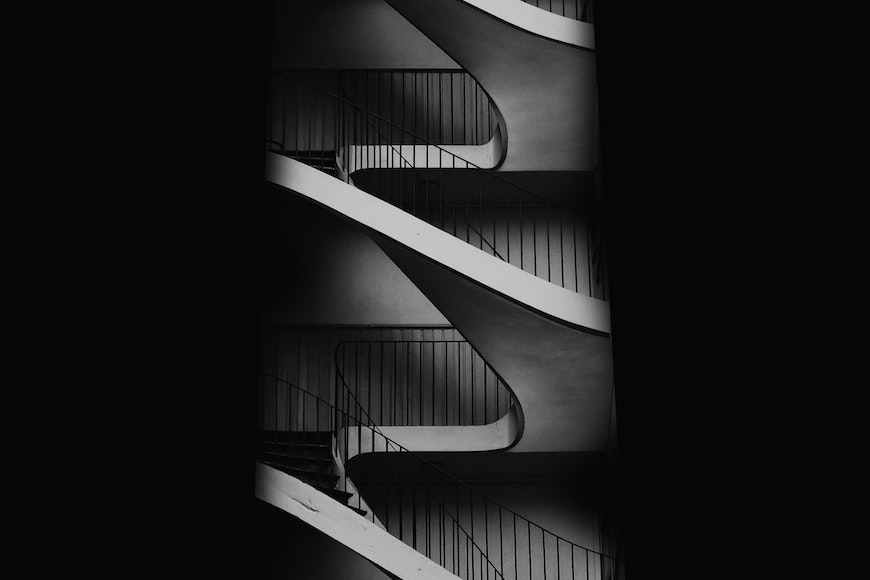
Credit: Adrien Olichon
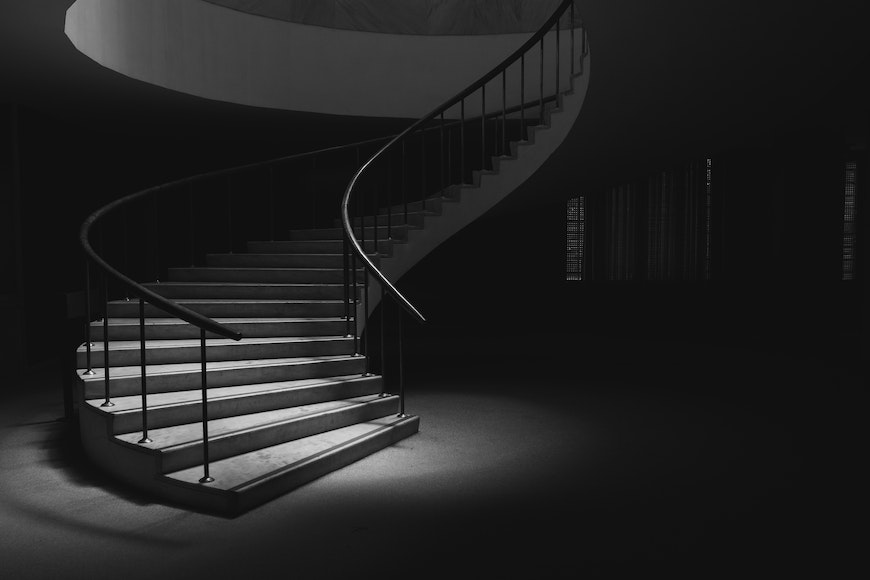
Credit: Zafer Erdogan
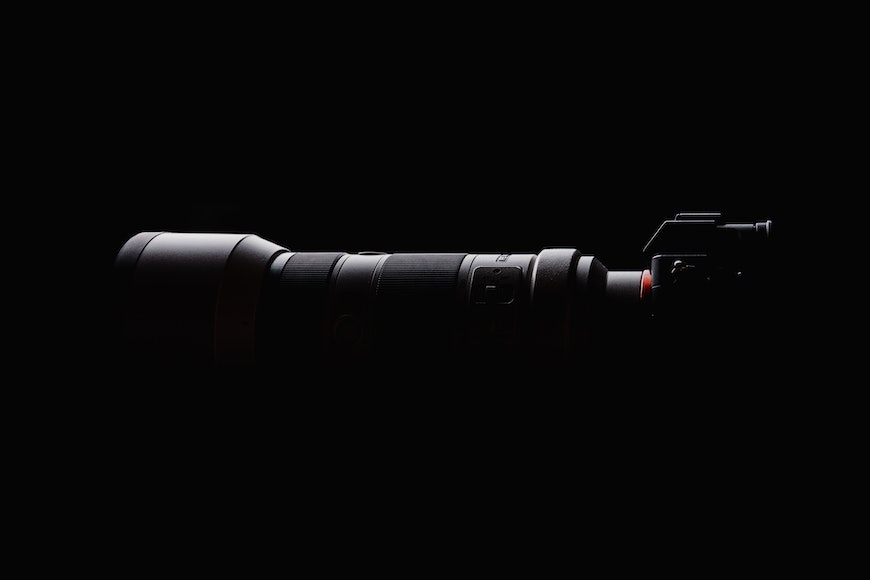
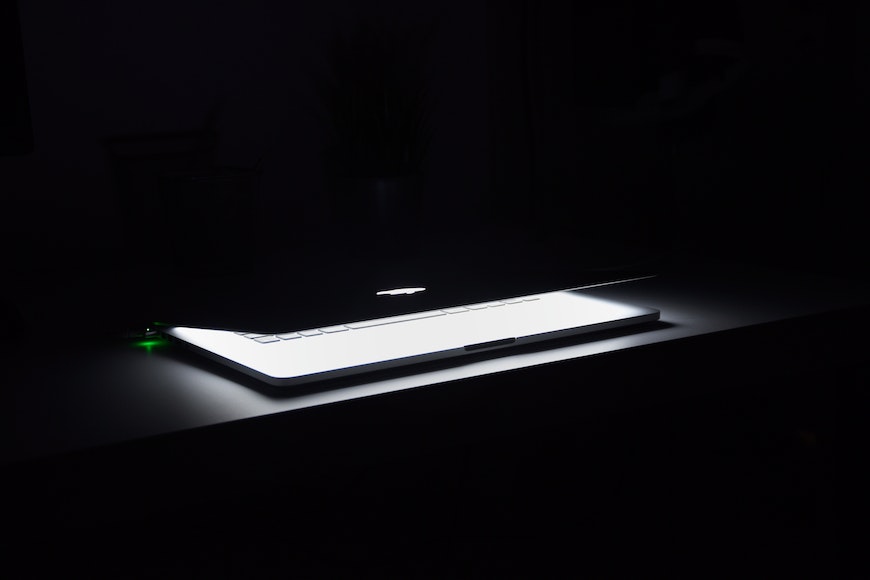
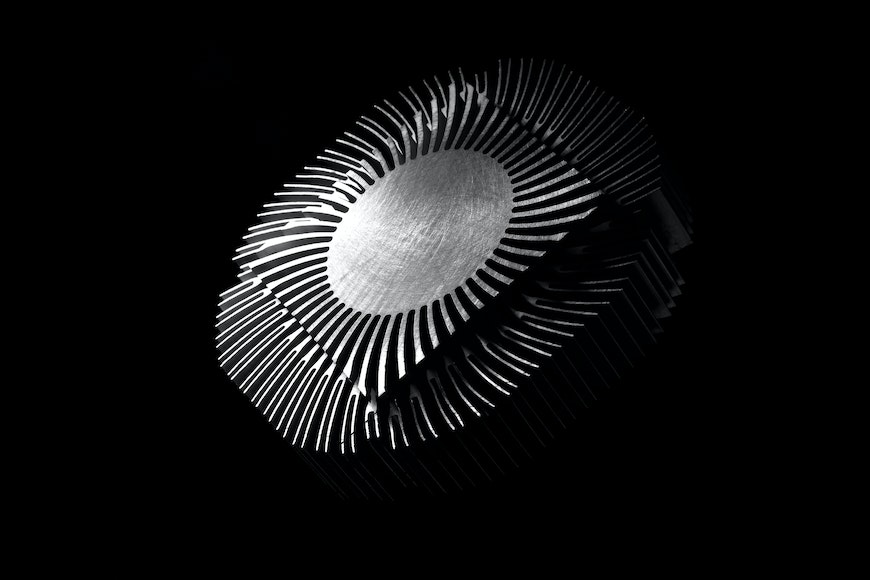
Low-key photography – product
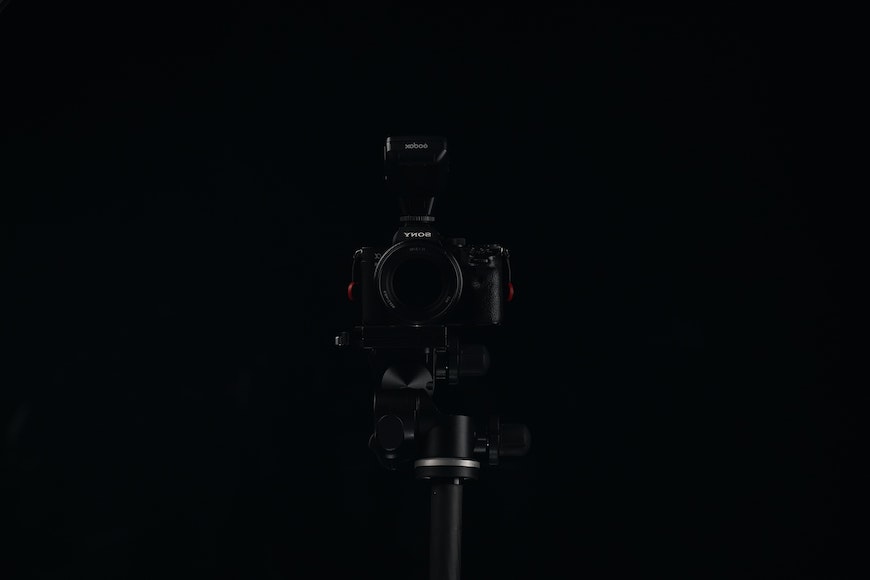
Credit: Vilnis Husko
Credit: Jan Kopriva
Credit: Daniel Putzer
Credit: Miguel á Padriñán
How Do You Post Process Low Key Photography?
You can do the post-processing of your low-key photography in any editing software. I like to use Lightroom or Photoshop.
So, that’s what I’ll use for the explanation. However, the tools you need for low-key post-processing are available in most apps and software. Feel free to use the one you prefer.
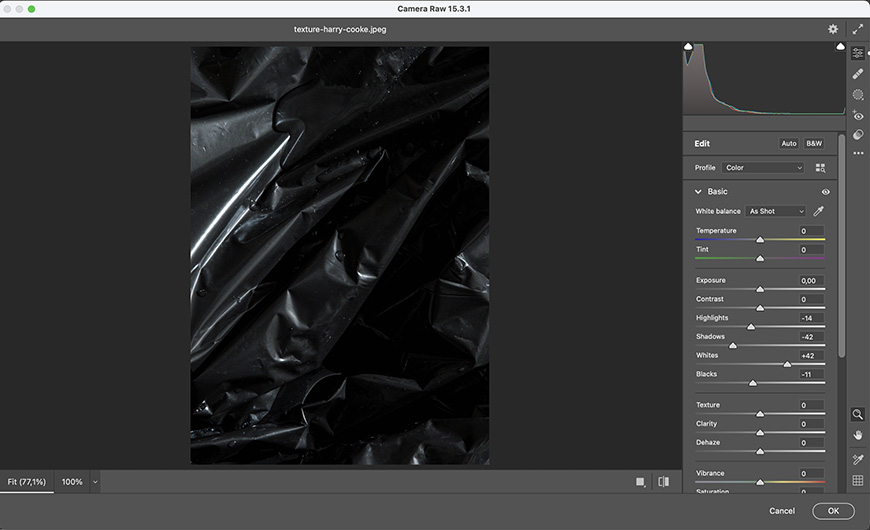
If you see the histogram on low-key photos, you’ll see most of the data is packed into the left side. Usually, this would mean that the image is underexposed – not this time. So, don’t use this as a guideline as you would do in other types of photography.
This doesn’t mean that the subject or the main area of interest shouldn’t be properly exposed, though. So, use the Levels or Curves to adjust that.
This process probably brought out some details from the background or opened up the shadows too much. So, you can move the Black slider to darken the blackest point of the photograph.
Then, fine-tune this with the Shadows slider. You can also do this process with Levels and Curves.
The rest of the post-processing is similar to whatever you do on any other photo. You should check the white balance, correct lens distortion, etc.
FAQs about low-key lighting
What are the advantages of low-key lighting?
One of the biggest advantages is that you can do low-key lighting with a minimal setup. Despite that, it can render very professional-looking results.
It’s also a great way to draw attention to a specific point of the picture. Last but not least, it works great for all sorts of subjects from product photography to portraits to an abstract macro shot – your choice.
Why is low-key lighting used in photography?
Low-key lighting photography is mostly popular for portraits. However, it’s also used for fine-art photography because it’s very dramatic and sets a very specific mood.
What is the lighting ratio for low key?
In low-key photography, the lighting ratio is quite high. The specific ratio depends on how much contrast you want to get but usually, it’s something around 8:1.
What do low-key images have more of?
Low-key photography has mostly harsh shadows and dark tones. The few mid-tones should be on the dark side of the spectrum and it would only have a few highlights.
Who are some famous low-key photographers?
The pioneers of low-key photography are Imogene Cunningham, Edward Steichen, and Edward Weston at the end of the 19th century and the beginning of the 20th.
Irving Penn and Yosuf Karsh are some of the most famous low-key portrait photographers. Amongst current artists, Bill Henson is one of the most renowned.

Check out these 8 essential tools to help you succeed as a professional photographer.
Includes limited-time discounts.
 Expert Guide to On-Camera Flash (How, When & Why to Use)
 13 Tips for AMAZING Dark Photography (+ PRO Ideas)
 How to Do High Key Photography (Examples, Settings & Ideas)
 Flash Photography for Beginners (Ideas, Settings and Tips)

Ana Mireles is a Mexican researcher that specializes in photography and communications for the arts and culture sector.
👋 WELCOME TO SHOTKIT!

🔥 Popular NOW:
