As a rule, high key photography stands out with bright and light-toned colors. In some cases, it may contain overexposed areas on purpose. Even though the concept is pretty easy to understand, it might be a bit challenging it implement it. You need to choose the key light which delivers the main illumination and add one more reflector to fill in most shadows.
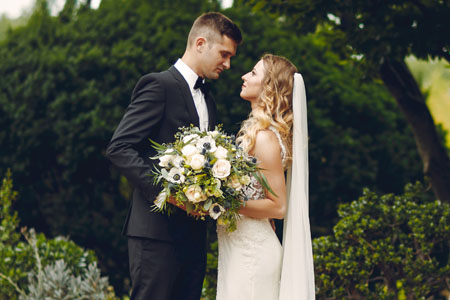
High key photography differs from low key photography since it has the opposite purpose. High key lighting works great for wedding photography, portrait photography as well as product photography.
If you don’t want to set up the lighting on your own, use services provided by professional retouchers to get fast results.
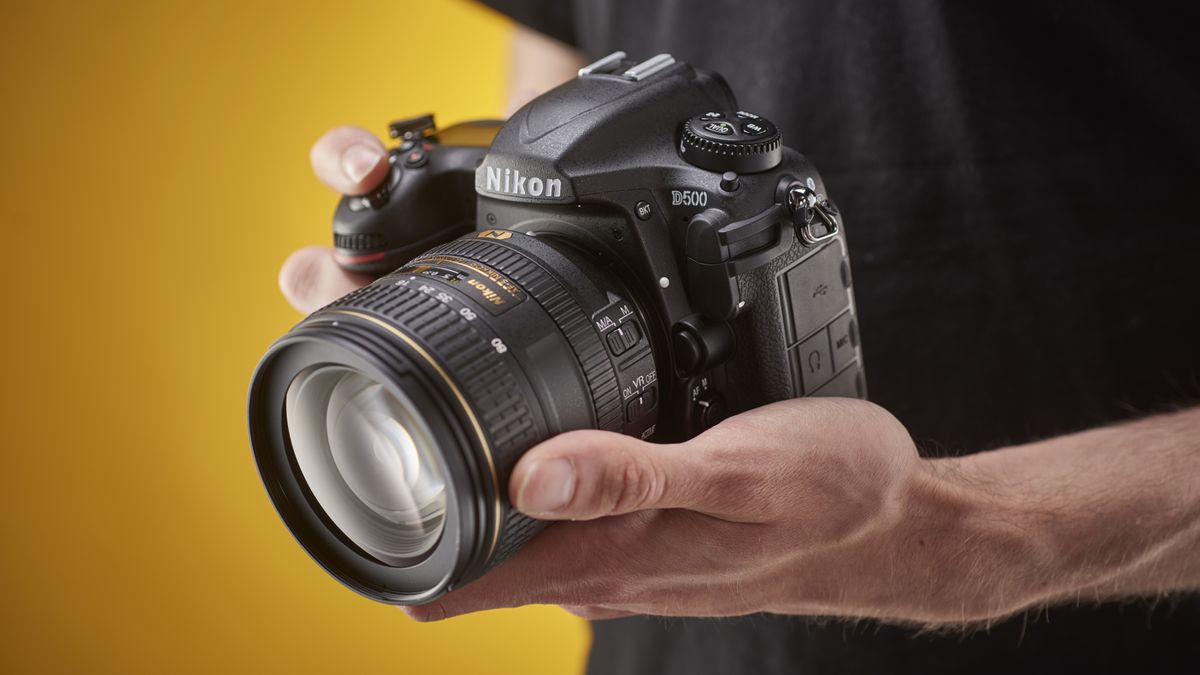
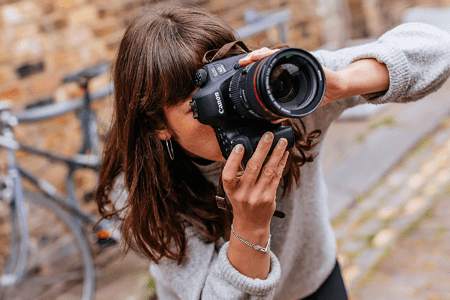
If you want to shoot high key lighting photography, you need to get a basic DSLR camera or mirrorless camera. I recommend spending a bit more on a versatile entry-level camera so that you can use it longer with various lighting conditions.
Check out these 3 entry-level DSLRs:
Nikon D3400 has the latest AF-S system, resulting in high-quality focusing and great pictures.
Canon SL2 works great for taking portraits. This model is suitable for both novice and professional photographers.
Pentax K3 allows you to take accurate and detailed photos with smooth transitions.

After choosing the right camera, you need to pay attention to its settings to take a great high key photo. Here are the main settings you should take into account while shooting high key pics:
Exposure: You need to adjust the shutter speed to overexpose the picture. Use manual exposure mode to set an aperture/shutter speed to +2 or -2 stops away from 0. Alternatively, you can try spot metering to take an exposure reading from a mid-tone in the picture.
Aperture: To take high key pictures, you need a fast and wide-opened aperture. Set the aperture to f/5.6 which is a mid-value (not too high or too low). You will get the picture as if you’ve shot it with f/3. However, due to close-up, the DOF looks pretty shallow even when F is above 5.0. Thus, you are letting in more light without compromising a nice blurry background.
ISO: You should set the ISO to the lowest available value. As a rule, it’s around 100.
Exposure compensation: In case you are using aperture priority, you need to check out if you use exposure compensation. If so, you can amp up the exposure two to three stops.
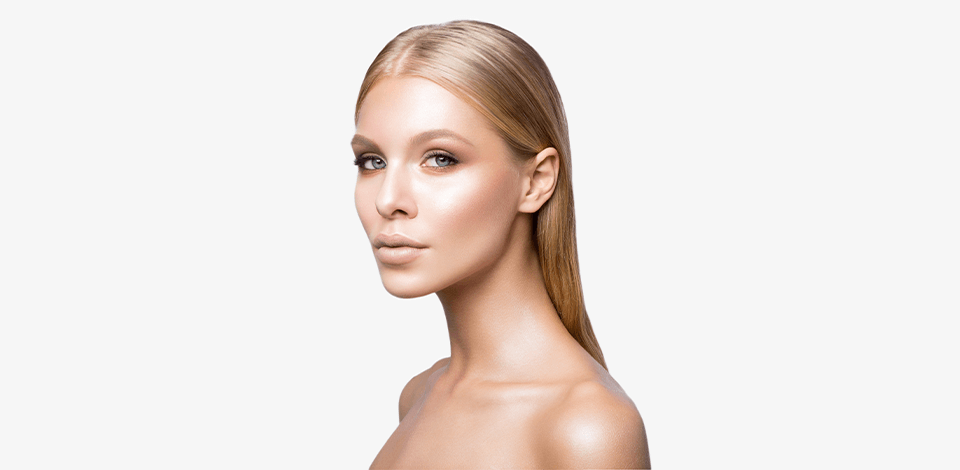
An overexposed look works especially great for portraits. To create good shots, you need to take a few test shots with different aperture values to choose the desired exposure.
In case f/5.6 doesn’t work, you can try f/6.3 or f/7.1. In this case, skin details might be less visible. To get the desired result, experiment with the aperture value.
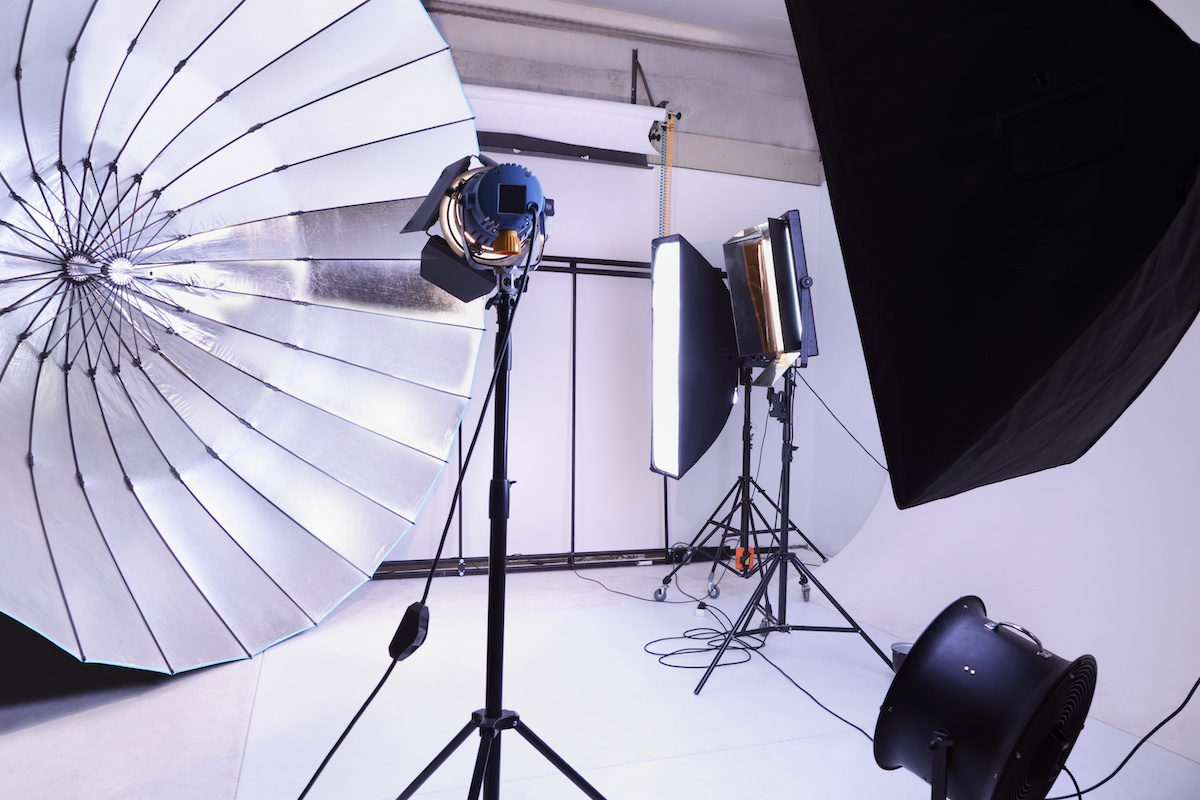
If you are planning to work in a studio or practice high key photography, consider buying good standalone studio strobes lights or flash units which are crucial for these cases.
You need to make sure you have enough light for creating a good high key portrait or product shot. Investing in a powerful set of strobes guarantees decent light which you can use as a main source paired with an additional one.
The first thing you should pay attention to is the power value. As a rule, strobes include power (in watt-seconds) in the model name such as the Godox MS300, which supports 300 watts.
The power type is another aspect you should check out. You might choose between mains or battery power. While strobes with mains power are less expensive and more suitable for studio shootings, battery-powered models go for a higher price.
Check out our 3 strobe light picks:
If you are on a budget, you can buy a softbox which is a cheaper analog of a strobe light. Besides, you can use a softbox as an extra lighting source. However, the softbox gives you less lighting, which might result in some shadows.

With continuous electric lights, you can get maximum control over the lighting while taking photos. However, using this method, you should shoot either in a studio or have access to a power source.
The best option is to choose lights with output control. After setting the key lighting, you can adjust your secondary light to fill in most shadows.
To achieve such an effect, you should put the light at an approximate angle of 45° to the key light. Besides, you need to adjust the intensity of the secondary light to make it softer compared to the main source.
If one secondary light cannot fill in all the shadows, you should use an additional one or a reflector. Check out your lights and the direction of the shadow to find out which source causes most of the shadows. Then, put another light opposite this shadow. Keep in mind, you need to adjust the light to fill in the shadow without overpowering other lights.
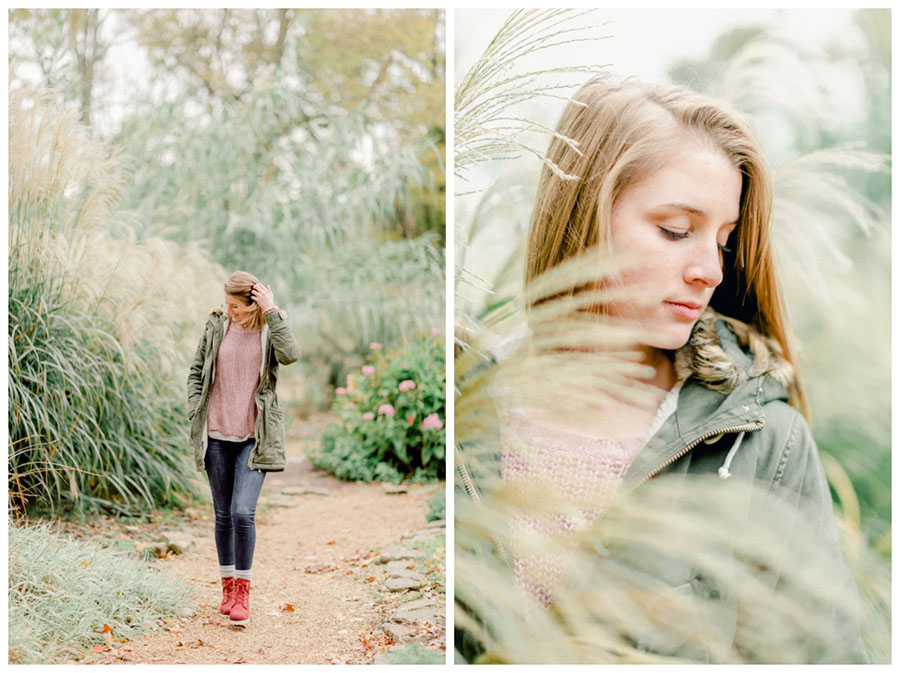
Cloudy weather is perfect for high key lighting photography, since an overcast sky will be brighter than your object, which allows you to take photos without flash.
The best way to take such pictures is to choose the area with an uncluttered horizon to avoid trees blocking the skyline. You can take portraits with hills or fields in the background.
If finding such a location isn’t an easy task, you need to change the angle to make the background as uncluttered as possible.
In case the subject takes much of the frame, you should use spot metering or center-weighted metering mode to let your device meter off the subject automatically.
If the subject is too small in the frame, spot metering mode also comes in handy. However, you should make sure the center autofocus point is over your subject.

Taking a high key photo in sunny weather is pretty similar to shooting on a cloudy day.
You need to:
In the same way as described above, you can capture more sky if the place lacks an uncluttered area. Just change the camera angle and get down low.

After everything is done, you need to meter off the main subject with your center-weighted or spot metering mode.

You should set camera exposure first. It’s better to use an aperture of f/8 and an ISO of 100.
When choosing the shutter speed, you need to take into account the flash sync speed which is usually around 1/160s or 1/200s. Then, you need to place the external light.
Even though you can take a high key photo with one flash, it's better to use two to get the desired shot faster.
To set up two flashes for the shooting, check out the tips below.
For the first lighting setup, you need to use a flash modifier to fill the background of the shot. You can use a large diffuser or a softbox.
If you want to create a backlight, you need to position one flash with the modifier behind the subject. You should adjust power to nearly 1/8 which you can later change.
Depending on your needs, you should place the second flash in front. You can start with a 45-degree angle and adjust it later if necessary. Next, you need to set it to 1/16 power.
You should also consider using an umbrella or a large softbox to soften the flash.
If you don’t have large modifiers to fill the background, you should consider the second lighting setup.
To set the foreground flash, you should follow the steps described above. However, instead of placing the other flash behind the subject, you should put a whiteboard in the background.
Since the board has to cover the whole background, its size is pretty big. However, poster boards are cheap enough. Alternatively, if your studio has white walls, you can use them as a background instead.
Then, place the background flash at a 45-degree angle from the white background. Don’t forget to point the flash directly to the white background.
Depending on the chosen background, you might need a flash diffuser.
The last step is to adjust the background flash to 1/8 power and take a couple of test images.

If you are interested in high key photography, you can use the window light and a photography reflector or fill-flash. Most portrait and wedding photographers usually use this tip to create high key pics almost without lighting equipment. You should overexpose the background and light the subject with fill lighting.
However, you need to choose the day when the sun lights the space behind the subject. Besides, you need to place one source of light in front, opposite the background lighting.

The best way to create a good high key pic is to place the subject near the window, overexpose the light and fill the subject with a speedlight.

The more you spread the light, the better high key pictures you’ll get. You need to cover as much of the subject as possible. To achieve this effect, you should use big light sources, since small sources deliver harsher light and shadows. The large light source will help you spread the light and make shadows softer.
In case you have a small light source, like flash, you should use a diffuser additionally.

By using a softbox or photographic umbrella, you’ll get impressive shots. It allows you to spread light over the subject.
If you want to reduce the amount of light hitting the subject, you should add diffusion filters to make your lighting more powerful.

To get high-quality pictures, you need to balance the background light to avoid getting a dark and dim background.
One of the solutions involves choosing a white or light-colored background. Alternatively, you can use more light on a darker background.

To take a photo similar to the example above, make the background overexposed. The light from the right should be less strong than the light from the left.
Both extra sources should be less bright than the background light. Choose a large light source with balanced and diffused light to get rid of harsh shadows.

To get the right tones while taking a high key photo, try draping the subject in a light-colored sheet. Besides, you can put the light-colored sheet under the subject. I recommend using a muslin cloth for a light background to reduce the dark tones behind the subject.

After setting lighting, adjust your camera settings and take a couple of test pictures. In case you don’t like the result, try to rearrange your light sources. Don’t be afraid to make adjustments during the shooting process.
I also recommend setting up light in advance. Select the best light setup that you will use for regular photoshoots. Then, you can set lighting for other types of photography, including portraits. Don’t forget to save all the settings to use them in the future. When you find the right camera settings and lighting, the whole shooting process will be faster and easier.

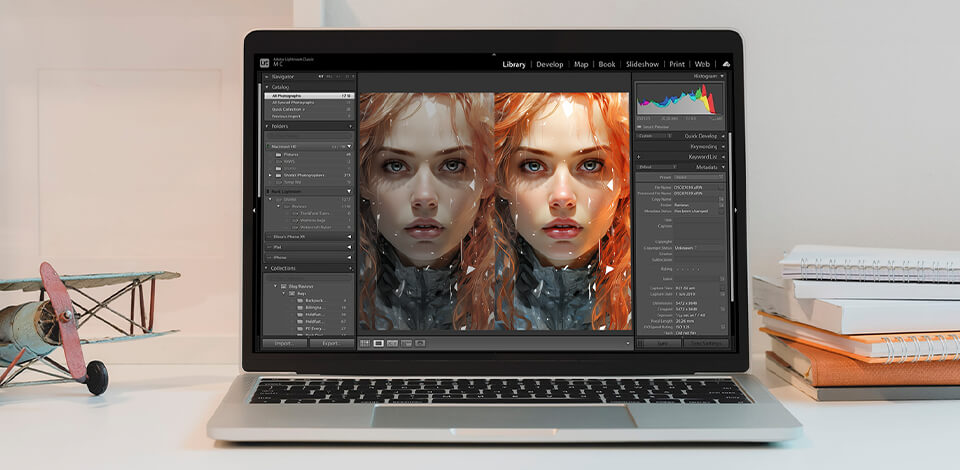
Practicing high key photography is not an easy task, especially if you lack light. To reduce unwanted shadows after the shooting, you may need to process your photos. You can use various photo editing software to edit the background.
When processing your images, you can change the background as well as improve the brightness and exposure to get a brighter photo. I don’t recommend working on contrast since it might result in excessive tones or muted subjects.

The main aim is to keep the focus of the image and eliminate dark tones without creating a faded effect. If you don’t want to edit your photos by yourself, you can order services from professional retouchers.
The Adjustment Brush tool helps you get a fully white background and get rid of unwanted elements. I used the following settings to carefully “white-out” the background with the brush: the exposure was set to up to +4, besides, I used Automask.
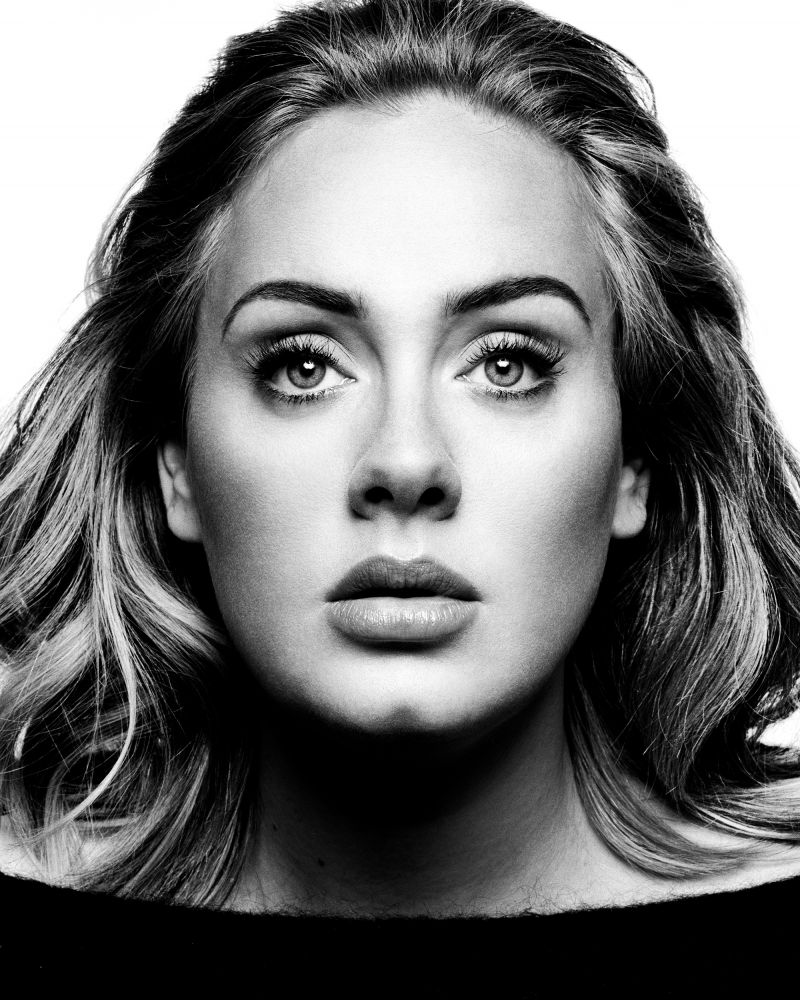
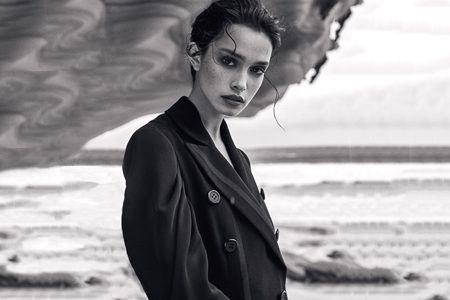
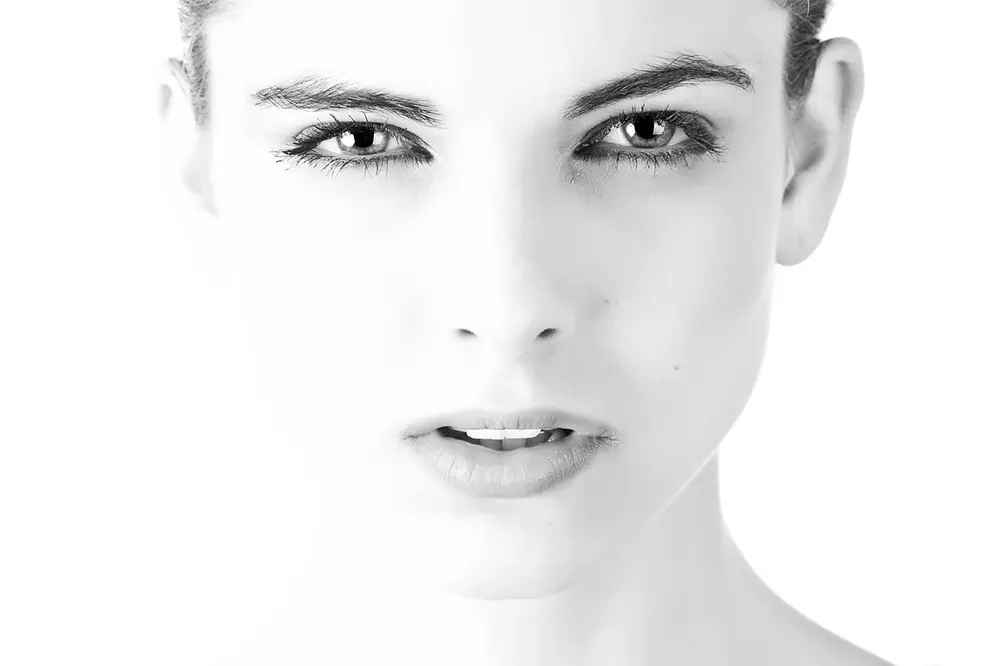
Antoniou Platon is a well-known British photographer. His most famous works include highly contrasted black and white portraits of celebrities and politicians.
What makes his portraits stand out is that he uses a tight frame around the model, the high contrast, the shadows on the model’s cheeks, and the white background.
This approach works especially great for models with interesting faces. Since such a portrait is simple and clear, viewers can focus on the subject.
The style is suitable for male models. However, since there is no strict rule, you can try it with female models. Besides, you can try different approaches and techniques to shoot them differently.

You don’t need a lot of equipment to recreate Platon’s pictures. Make sure to use several flashguns. If you are going to process pictures afterward, you can use one flash.
Platon shoots with the medium format film camera with a 135mm lens which creates a similar effect to the 75mm lens on a full-frame camera.
Since the background is white and the photographer uses bright tones, this is a perfect example of a high key photo.
You can see how he positioned the lights by analyzing the shadows on the face of the model and the catchlights in his eyes.

Those who like high key lighting photography can also shoot animals in the shade. Due to soft uniform light falling on the animal with the harsh light on plants behind, you can create a washed-out effect caused by overexposing. Since the subject is in the shade, you can focus on each detail.

This picture of the lion looks great due to the right lighting and shadows. When you start with high key pictures, opt for darker subjects or the ones that include dark details, since they will become more noticeable after overexposing.
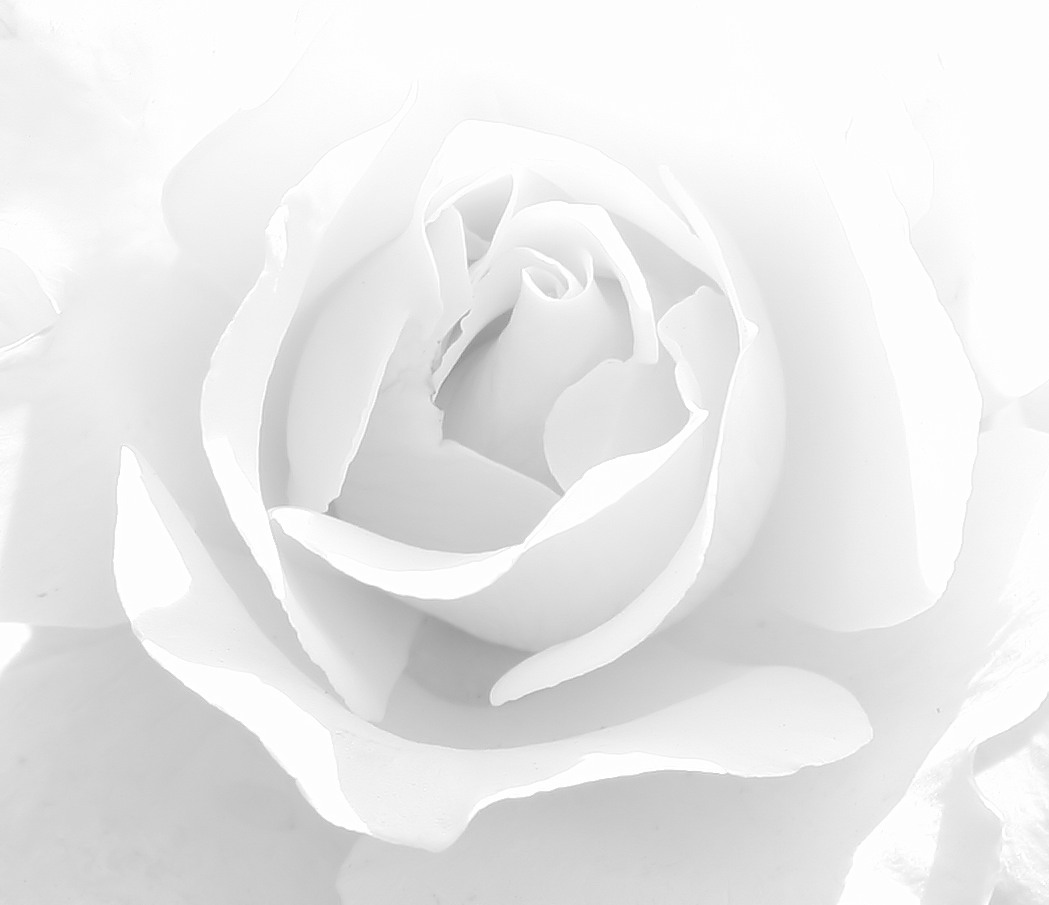
If you’re a novice, try shooting subjects that look great in a high key. As a rule, various plants, including leaves, flowers, or roots are perfect for this genre.
First, you need to decide on the plant that you want to capture. You can choose a flower, seed-head, or leaf details. To take photos of them, place the macro lens closer to the foreground.

Use 100mm macro and 300mm f2.8 lenses when shooting plants and flowers. If you aim at a wide-angle, use a 16mm to 35mm lens.
To switch between landscape and portrait format without changing the position of the camera, you can use a rotating lens.

If you’ve experimented with long exposure landscape and used a neutral density filter, you’re fully packed for creating great high key lighting photography and can take great pictures of water. To create the snow-like effect, you need to use a long exposure of more than 20 seconds.
Working with landscape photography, you need to make more effort for creating a high key photo. You will need a faster lens compared to your basic one, like the Nikon AF-S 105mm f/1.4E ED or Canon EF 85mm f1.2L II USM. Besides, you need to pay attention to weather conditions.

I recommend using a Prime Lens with the maximum aperture of f/1.8 which works great for high key images since it lets more light into the frame. Since these lenses are faster than standard ones, they allow you to create an overexposed effect.
Choose a bright day when the sun is high in the sky to reduce most shadows. With the right conditions, you can use faster lenses and adjust your settings to get a good photo.

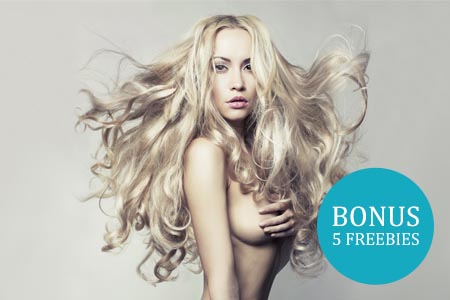
After taking photos, you can use these portrait actions with filters to retouch your pictures. This collection helps cover the entire spectrum of headshot and photographers’ needs. The actions allow you to whiten the eyes or enhance the overall contrast of an image.