Make Your Portraits Soar with Butterfly Lighting!
Using camera flash in portraits doesn’t have to be scary or complicated. Today, we’ll talk about one of the simplest, and happiest sounding lighting patterns. With one light and a reflector, you’ll be on your way to shooting off-camera flash with confidence.
Learn why it’s called like that, how to set it up and 3 reasons this lighting pattern is an amazing photography lighting setup for portraits!

What Is Butterfly Lighting?
Butterfly lighting is a simple lighting pattern used in portrait photography. It’s named for the shadows that’s formed underneath the nose.
Not seeing the butterfly? Picture a butterfly flying toward you, wings spread out…that’s the shadows it creates! I think it also looks a bit like the Batman symbol if that helps.
What Is Butterfly Lighting Used For?
This lighting pattern is used for portrait photography. It’s also known as “Paramount Lighting” because it was a favorite lighting technique of the Paramount movie studio in early Hollywood.
It is common in beauty shots or high-end portrait photography requiring soft, flattering light like fashion or glamour shoots.

3 Reasons to Rock Butterfly Lighting in Your Portraits
#1. It Is Incredibly Flattering!
The pattern can accentuate cheekbones and give a glamorous, high-end look to your portraits. There’s a reason it was the favorite of old Hollywood!
#2. It Looks Great on Older Subjects!
Butterfly light creates shadows under the cheeks and chin but adds lots of light to the other part of the face. This can help minimize a double chin and fills in shadows in wrinkles. It’s an easy way to give an older subject a brighter, more youthful appearance.
#3. It Is Easy to Set up and Understand!
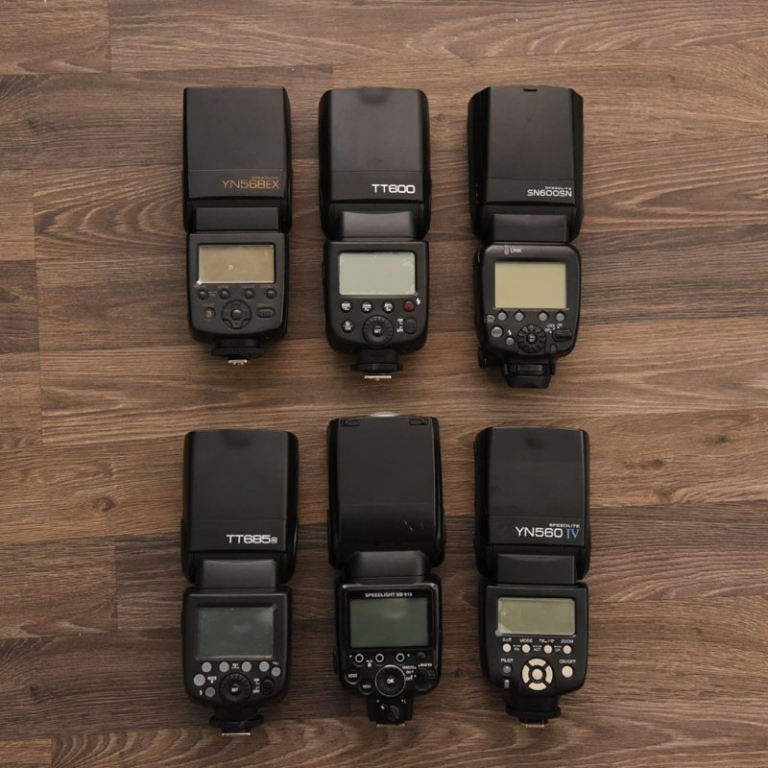
If you have a single Speedlight and a reflector, you can do this lighting pattern! As you’ll see below, it’s incredibly easy to set up butterfly lighting in a studio or in the field!
Learn some basics of studio light with our tutorial!
How to Achieve Butterfly Lighting
A 1-light lighting setup
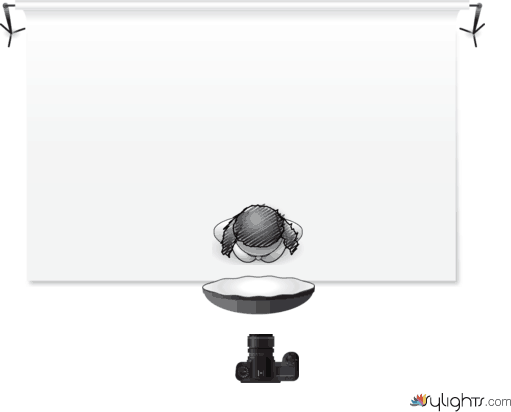
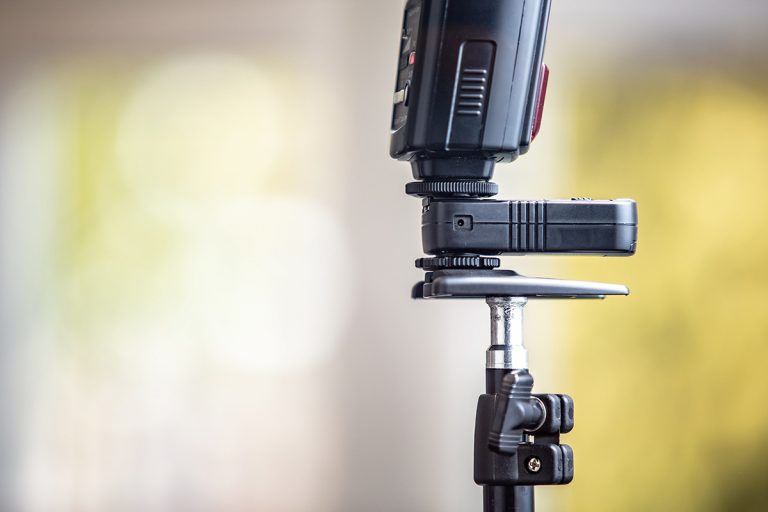
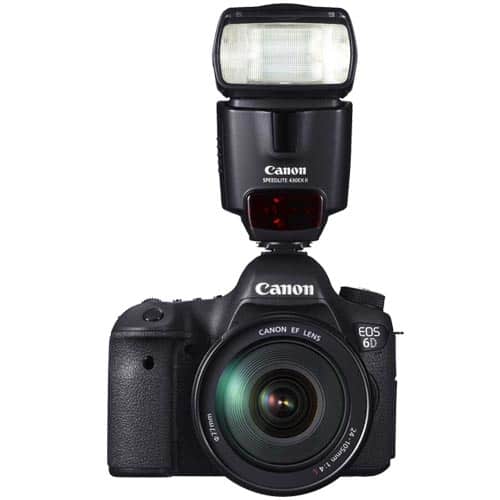
First, start with one light source. This can be a strobe or a speedlight, usually with a modifier of your choice. Try different modifiers for a slightly different look, like a softbox, beauty dish, or shoot-through umbrella.
Next, place your butterfly light behind the camera and slightly above eye level of your subject. Your butterfly light should be about a foot above your subject’s head, and a few feet in front of them. You should see that signature butterfly-shaped shadow under your subject’s nose.
By adjusting the placement of the light, you can adjust the contrast of the shadows to your liking. Try moving your butterfly light closer to and further away from your subject until you get a look you like. Don’t forget to adjust your flash power to maintain proper exposure to your model.
You can turn your subject slightly in one direction or the other, but your light should stay on the same axis as the camera. That’s what creates the tell-tale shadows.
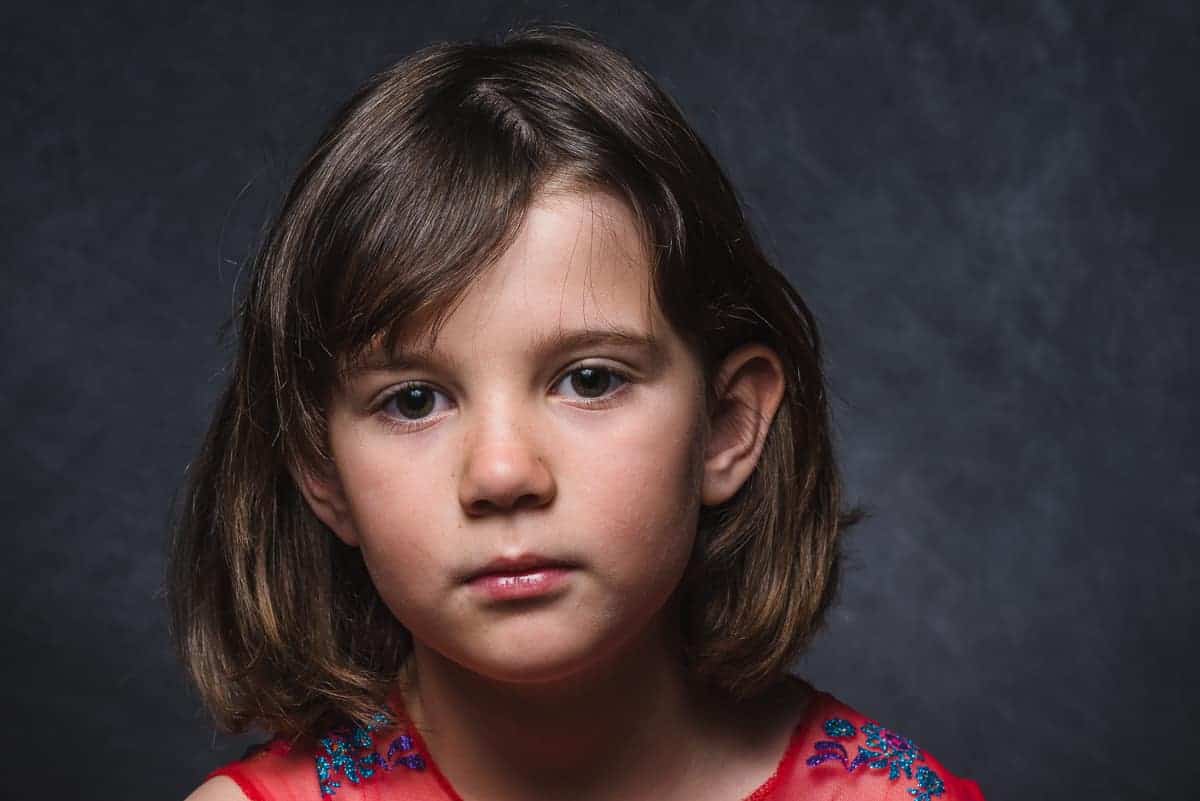
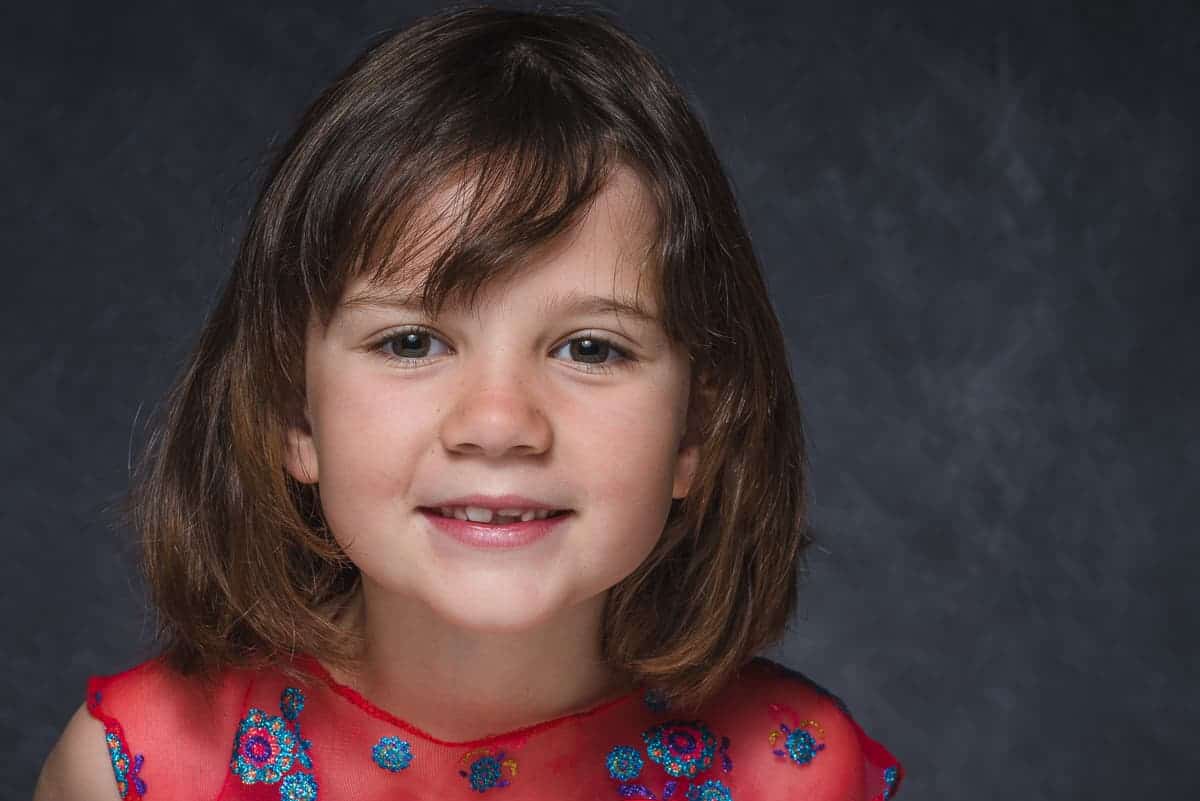
Below is an example with a single light.
1 light plus a reflector
Now if you like how the portrait looks, there’s no need to get complicated. When it comes to portrait lighting, Butterfly-lighting can be as simple as 1 light! But if you’d like to soften the shadows under the chin, try using a reflector.
Place it in front of the subject, underneath the face and just outside the frame. This bounces some light back into the face and eyes and fills in shadows under the chin.
The closer your reflector gets to your model, the softer the shadows will be.
Remember that the reflector is adding light back into the scene, so you may need to adjust your flash power down from your camera settings above.
Below is an example with 1 light plus a reflector. My model held the reflector just below her chest to draw light back into the scene.
This changes the whole mood of the scene and adds a lot more light under the subject’s chin and into the eyes. If your model has deepset eyes, this can be particularly helpful!
Not sure about flash modfiers? Read our introduction and find one that’s right for you!
2 lights (AKA Clamshell lights)

Some photographers prefer to use two lights instead of 1 light and a reflector. In place of the reflector, add a second light UNDER the main light, pointed up toward your model. This lower light is acting as a fill light, filling in shadows. Be sure to set it at lower power than the upper light, usually 2 or more stops less in power.
As you can see from the portrait below, the two lights and modifiers mimic the two halves of a clamshell, hence the name “Clamshell Lighting.”
This is a little bit trickier to master. You need to make sure your bottom light is just acting as fill light and not overpowering your main light. Because the two lights are stacked on top of each other, you need to shoot through the gap. It takes some adjusting to get a gap big enough to shoot through but still lights your model correctly.
Also know that clamshell lightswill put two catchlights in your subject’s eyes. If that’s not a look you like stick with the reflector.
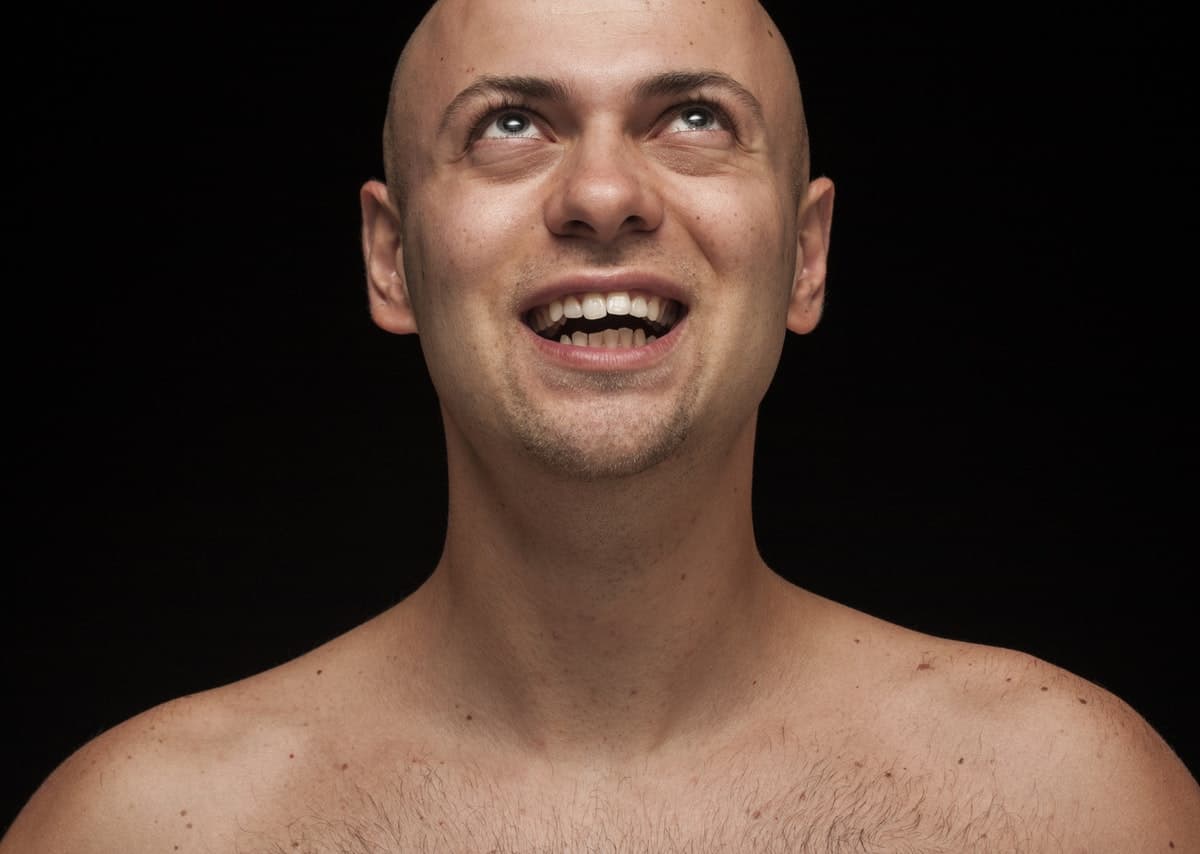
Watch your catchlights
As you position your model, be sure that you’re capturing catchlights in her eyes. If your model lowers her chin too much in the portrait, you’ll lose the catchlights out of the tops of the eyes.
Adding other lights
Feel free to accentuate your model with another light or two in conjunction to this photography pattern. You may choose to use a hair light or rim light shot from behind. Or add a third light behind your model, pointing toward the portrait background. You’re limited only by your creativity and number of flashes. Just remember, you’re using one main light straight on from above to create the butterfly shadow on your subject’s face in the portrait.
Butterfly Lighting for Group Portraits
This photography pattern is also one of my favorite patterns for group shots. I use one big light source on-axis with my camera, above my head, pointing down to my group. That way, my group is evenly lit, shadows are falling behind them and I’m not getting cross shadows from lights at two separate corners.
Do I Need a Strobe?
A butterfly lighting pattern can be created with any light source: strobe, speedlight, continuous light or even natural lighting setups. After all, the sun can be overhead pointing down – the exact position we need for this photography pattern. But natural light can be difficult to control.
It’s harder to vary the placement and power of the light. So most lighting setups you see will involve some sort of artificial light.
But artificial lighting setups don’t have to be overpowering or fake. You can easily use a flash to mimic soft, natural light for the camera. It’s simply a matter of understanding how to use the equipment correctly.
Are There Times I Should Avoid Butterfly Lighting?
Some photographers use butterfly lighting on women and even women with thin faces. It doesn’t have the slimming effect of other, different lighting patterns, such as short Rembrandt lighting.
And you may find that it feels a touch feminine. But other photographers use it all different sexes and ages. Experiment with it and see how it works. You’ll get a feel for when it can flatter and when it might fall short for your clients.
Other Common Patterns
Rembrandt lighting is just one of several common patterns used by studio photographers. The others are:
- Rembrandt
- Split
- Loop
- Broad
- Short
Rembrandt uses light at a 45-degree angle from your model. Done correctly, your model will have a triangle of light under his nose on the side of his face opposite the light. It’s a great lighting setup for a moody, more contrasty look.
Learn how to master Rembrandt lighting with our tutorial!
Split divides the subject’s face in half, with one side being properly exposed and the other side is in shadow.
Butterfly is named for the shadow under the nose created by placing the main light source above and directly behind the camera. This is also called placing the light on-axis with the camera.
Loop lighting creates a small shadow of the subject’s nose on his or her cheek. This is a lot like Rembrandt, but in loop patterns, the shadow of the nose and the shadow of the cheek do not touch. The two patterns are often confused. And while it’s important to understand the difference as a photographer, if you like the look of the portrait, that’s what matters more than exactly what you call it, right?
Broad and short aren’t really different lighting patterns. They are more styles. Technically you could have a broad Rembrandt lighting setup or a short loop. Broad lighting setup lights the side of the face closest to the camera. Short lights the side of the subject’s face furthest from the camera.
To me, butterfly lighting is one of the friendliest patterns you can learn as a photographer. Not only does it have a very non-threatening name, it’s easy to set up and understand. A few practice sessions with your flash and a model, and you’ll have this pattern mastered.
Just keep your eye on the butterfly. Soon you’ll feel confident as a portrait photographer flying this lighting setup and pattern in any season!